


If there is one place that screams Glacier National Park without requiring your couple to hike ten miles into the backcountry, it is Logan Pass. Photographing at Logan Pass in Glacier National Park gives you enormous mountain views, alpine meadows, wildflowers, wildlife, winding trails, and access to some of the most recognizable scenery along Going-to-the-Sun Road. But Logan Pass also comes with crowds, rapidly changing weather, delicate alpine vegetation, and some very specific photo logistics. After photographing couples throughout Glacier, these are the things I want couples and photographers to know before planning a session at Logan Pass.
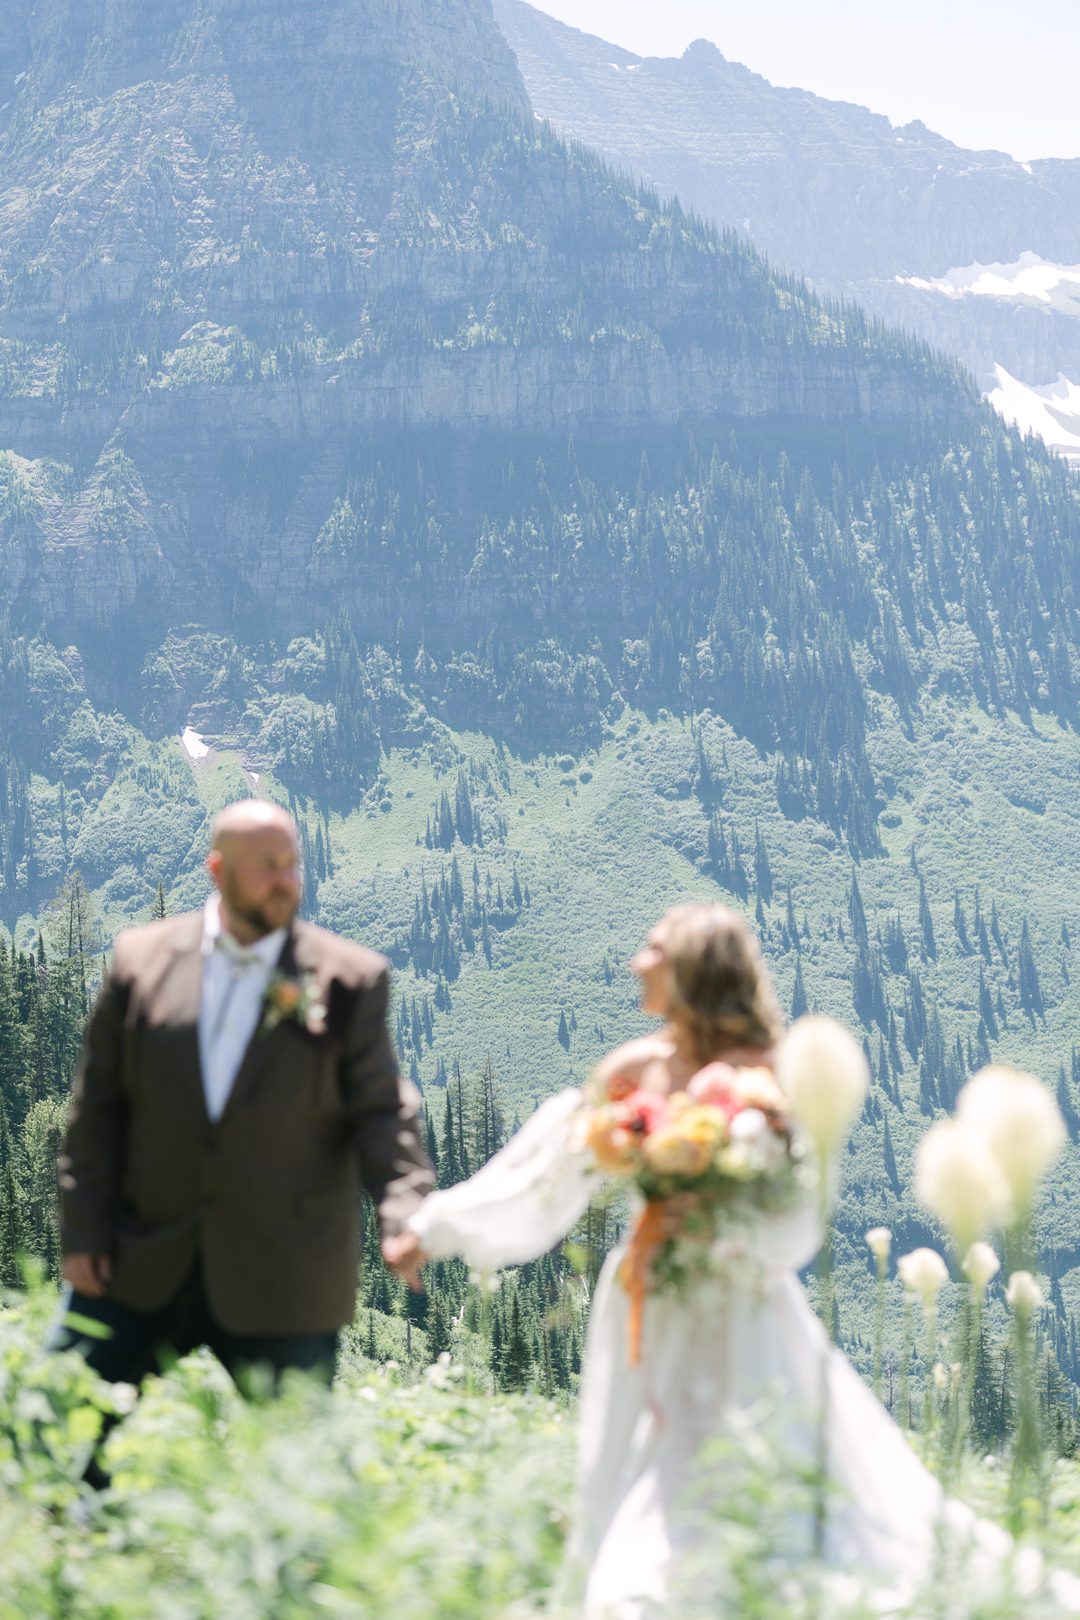
What Is the Best Time to Photograph at Logan Pass?
Light matters everywhere, but it matters a lot at Logan Pass. For couples sessions, I generally want to avoid the middle of the day when possible. The sun is higher, the light can become harsh, and Logan Pass is incredibly popular. Instead, build your session around early morning or evening light.
Morning gives you cooler temperatures, softer light, and that peaceful alpine feeling that works beautifully for engagement sessions, elopements, and wedding portraits.
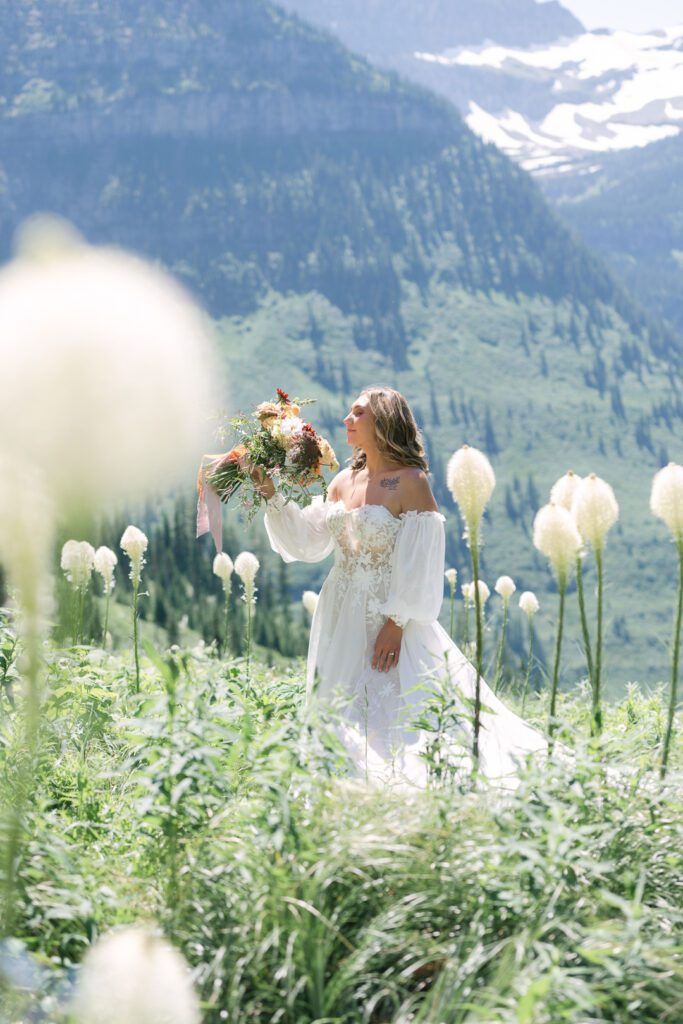
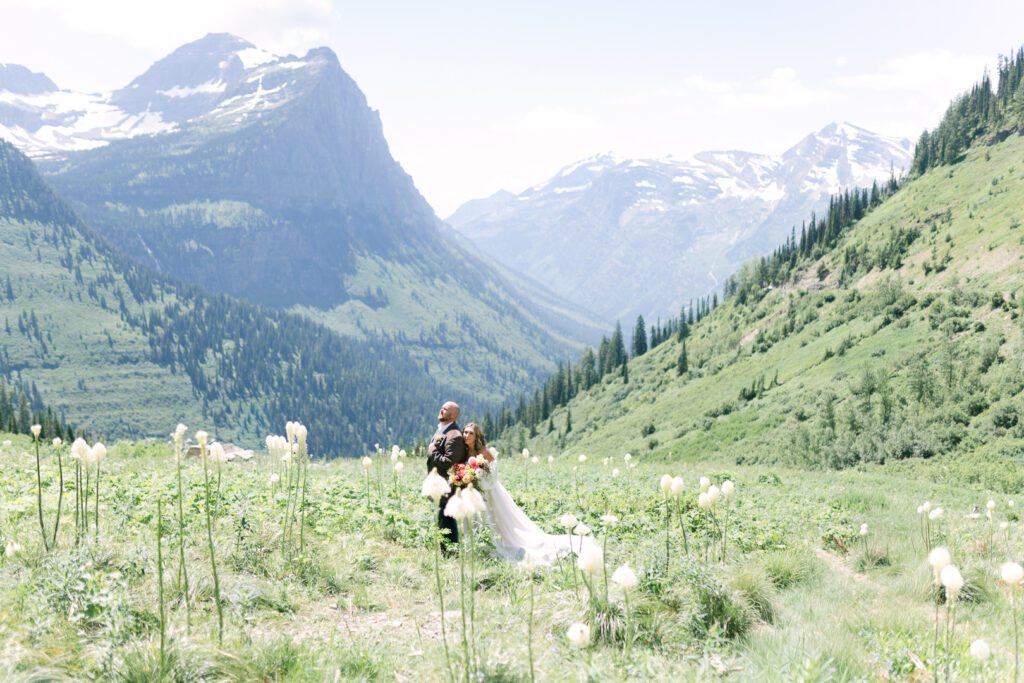
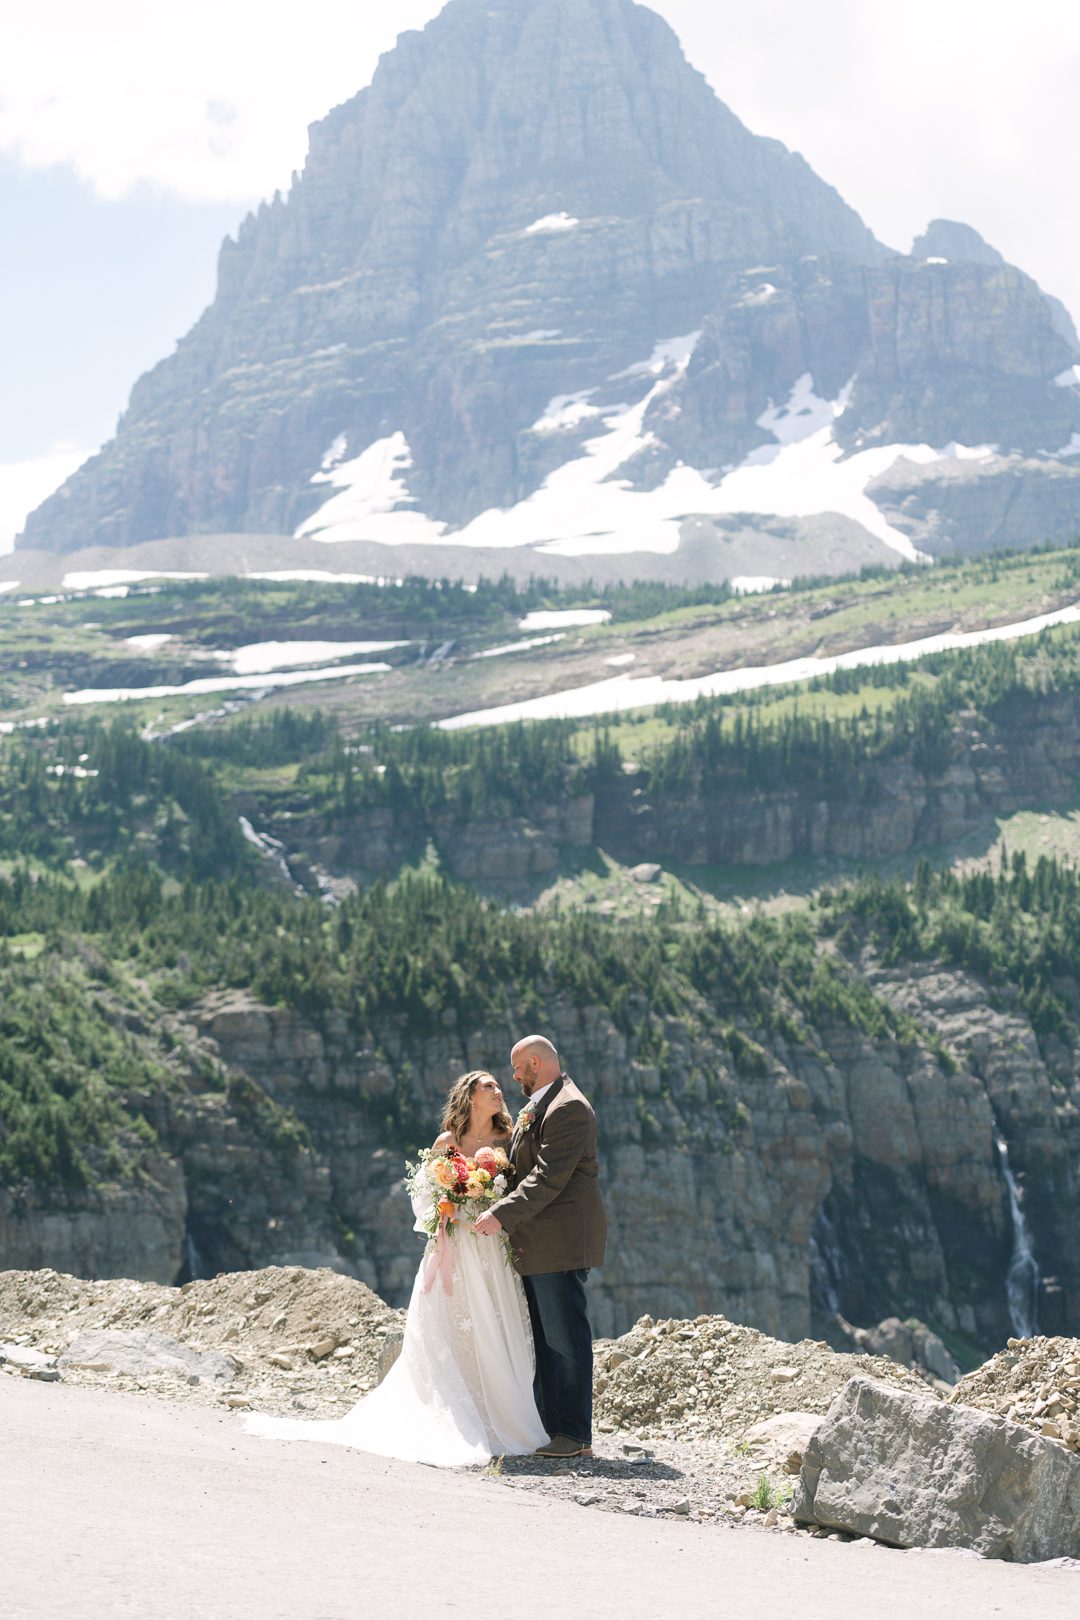
Evening gives you the opportunity to photograph the mountains as the light changes and creates beautiful backlighting, silhouettes, and layers across the landscape. The iconic Paradise Meadow photographs the best at sunset.
And don’t stop photographing the second the sun disappears. Some of my favorite mountain light happens immediately before or after the actual sunrise or sunset.

Photographing Logan Pass Wildflowers Without Destroying Them
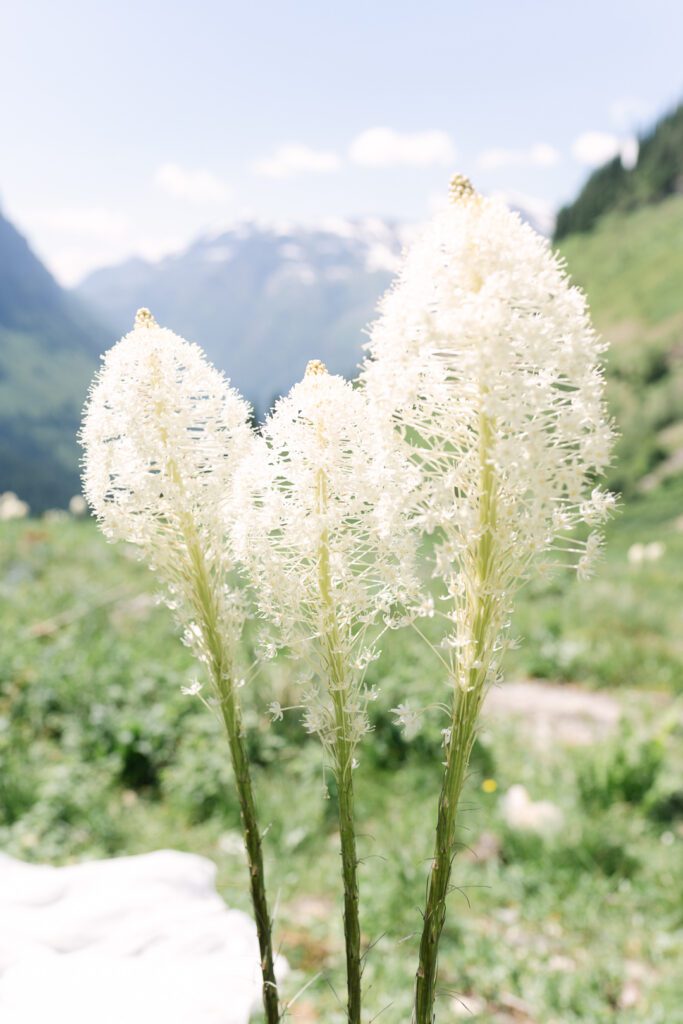
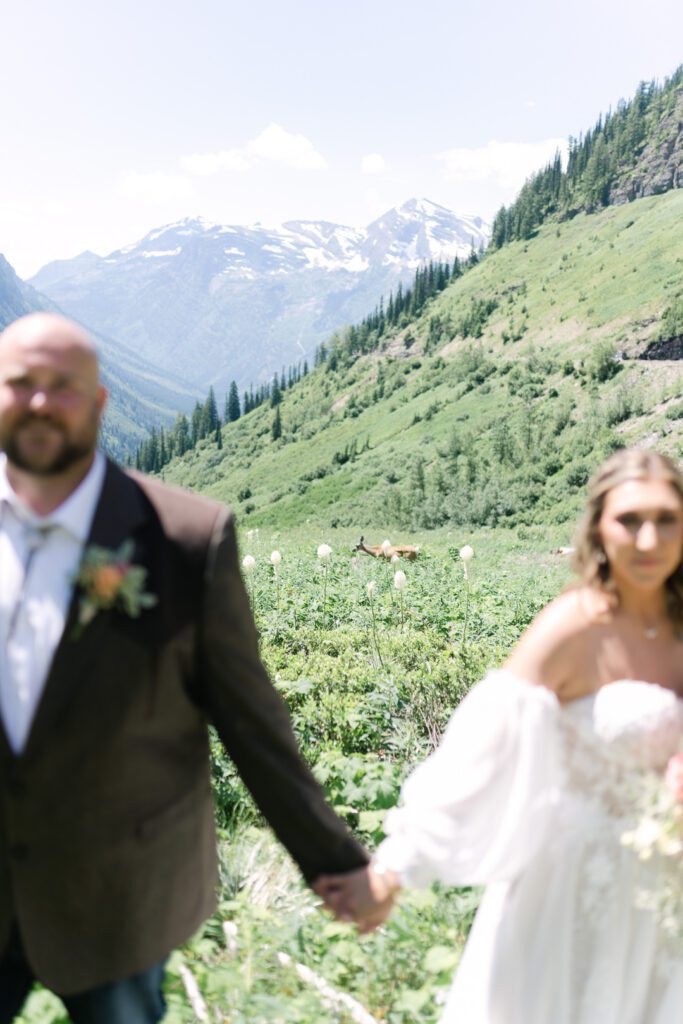
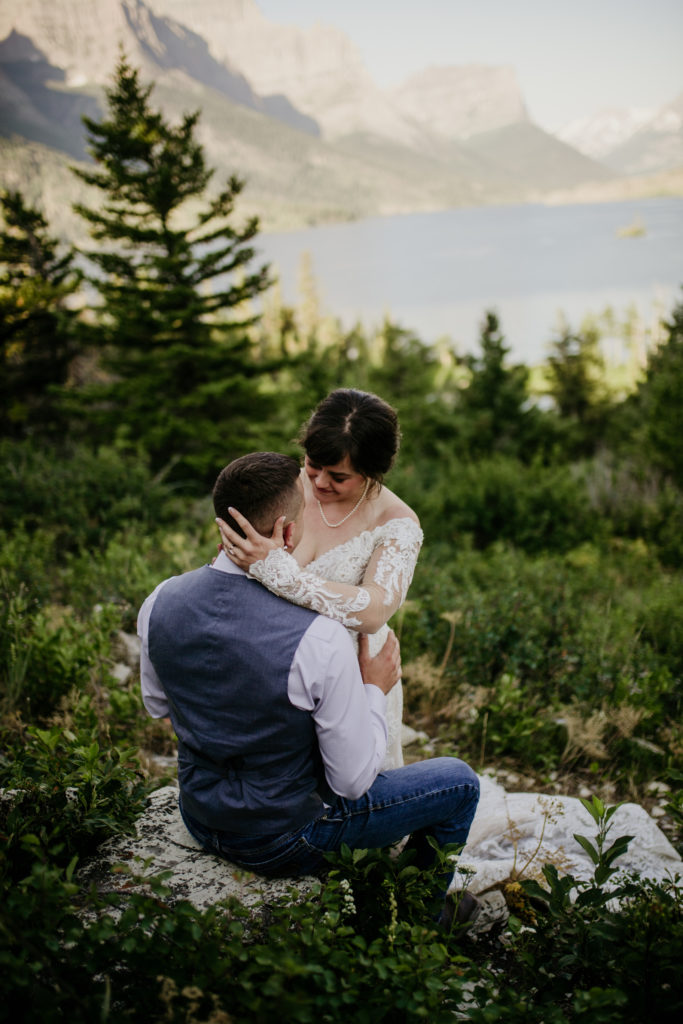
Those dreamy photographs of a couple surrounded by alpine wildflowers? There is one extremely important rule: Stay on the trail. The alpine vegetation at Logan Pass is incredibly fragile. The National Park Service specifically prohibits off-trail travel in certain Logan Pass meadows, and photographers should never duck ropes or position couples in protected vegetation just to get a photograph. The good news is that you don’t need to.
Use your lens choice, angles, compression, and foreground elements to make flowers feel abundant without putting your couple somewhere they aren’t supposed to be. Protecting the landscape is part of photographing it well.

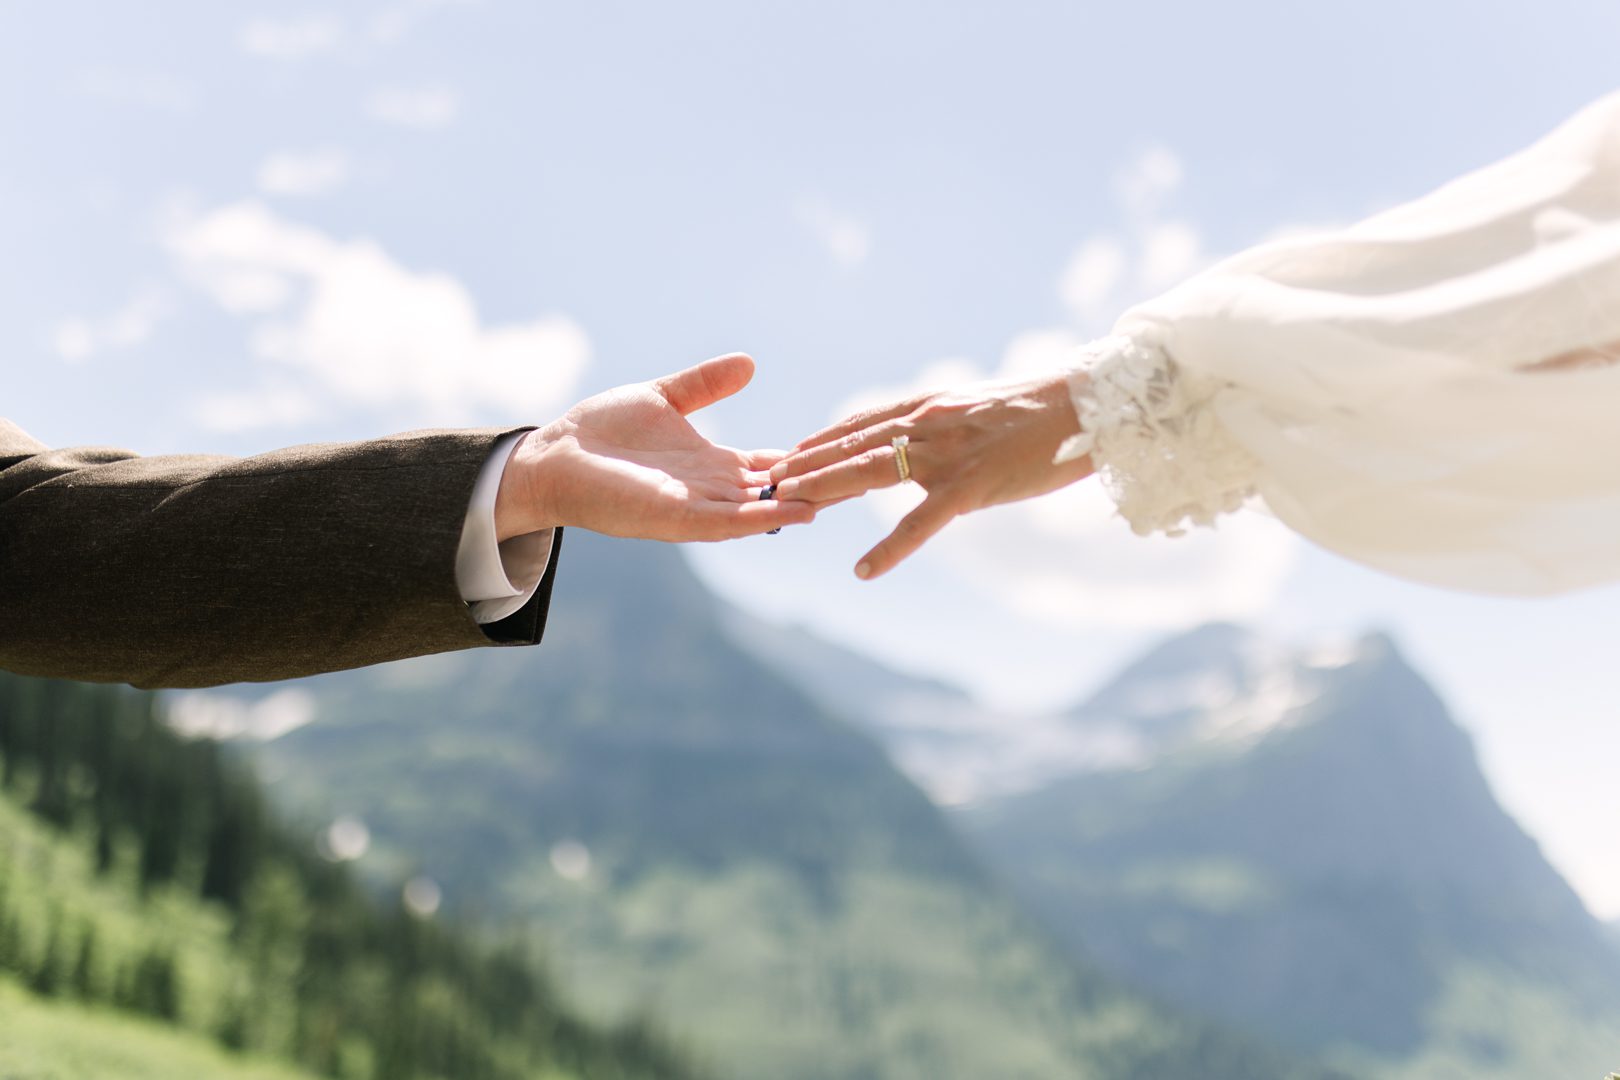
Best Photography Locations Around Logan Pass
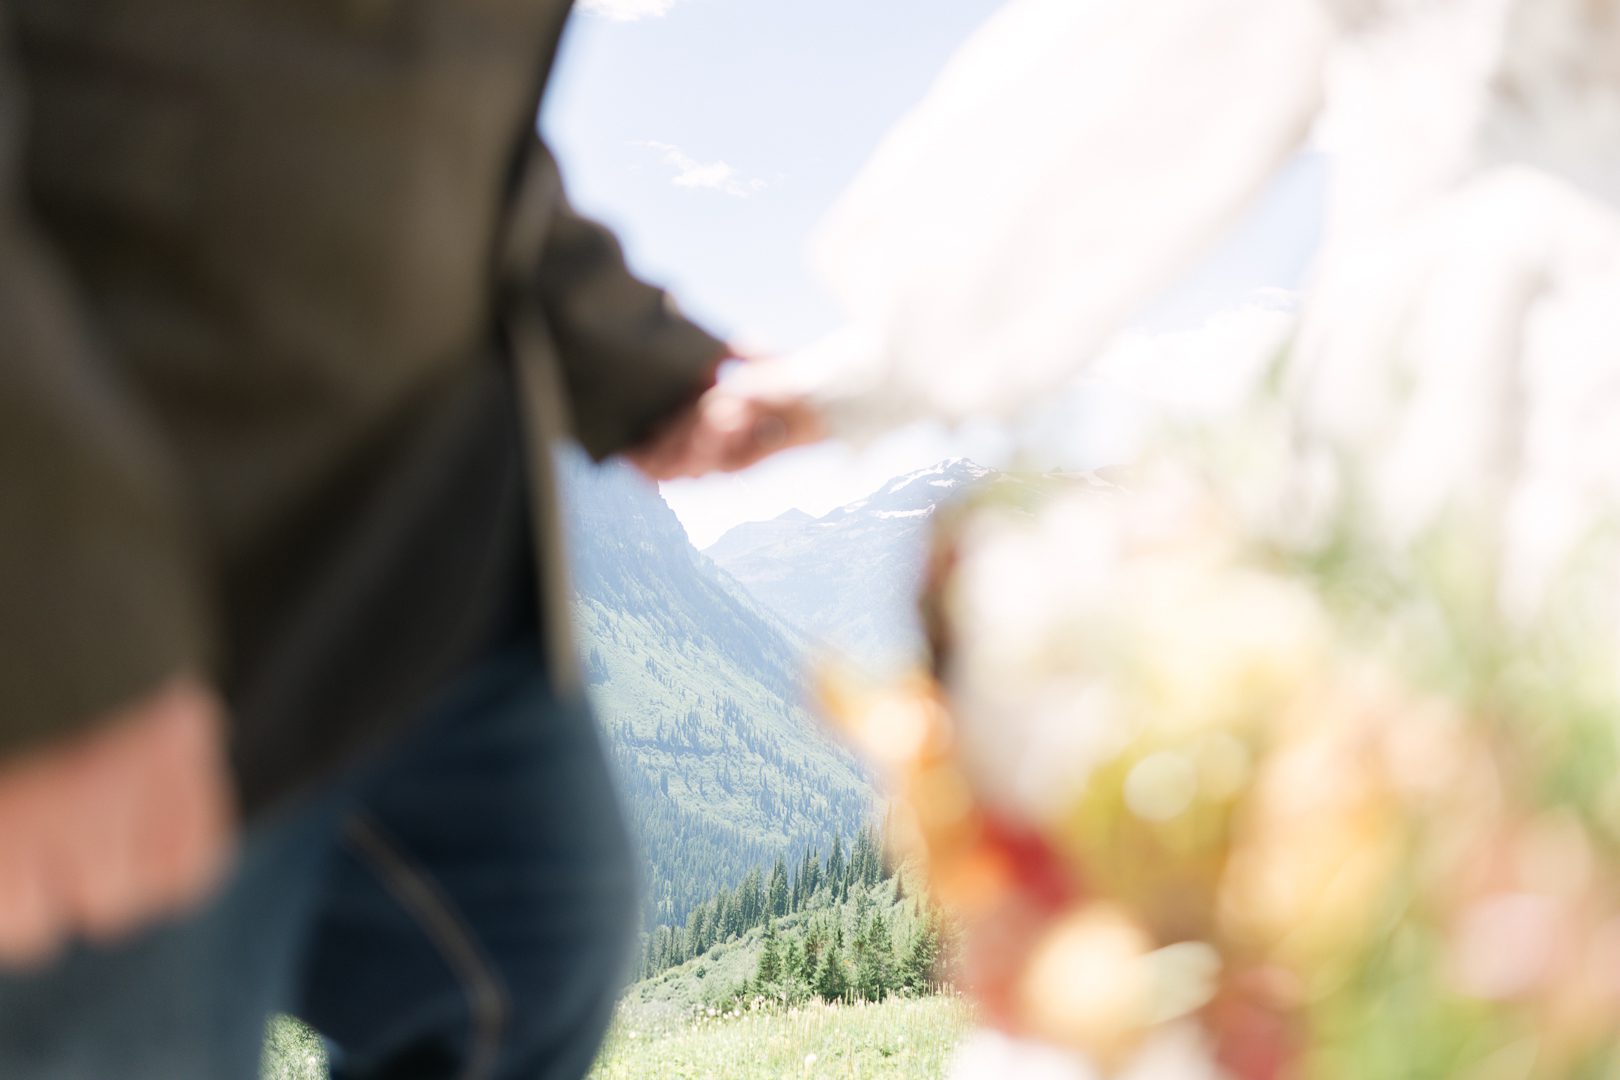
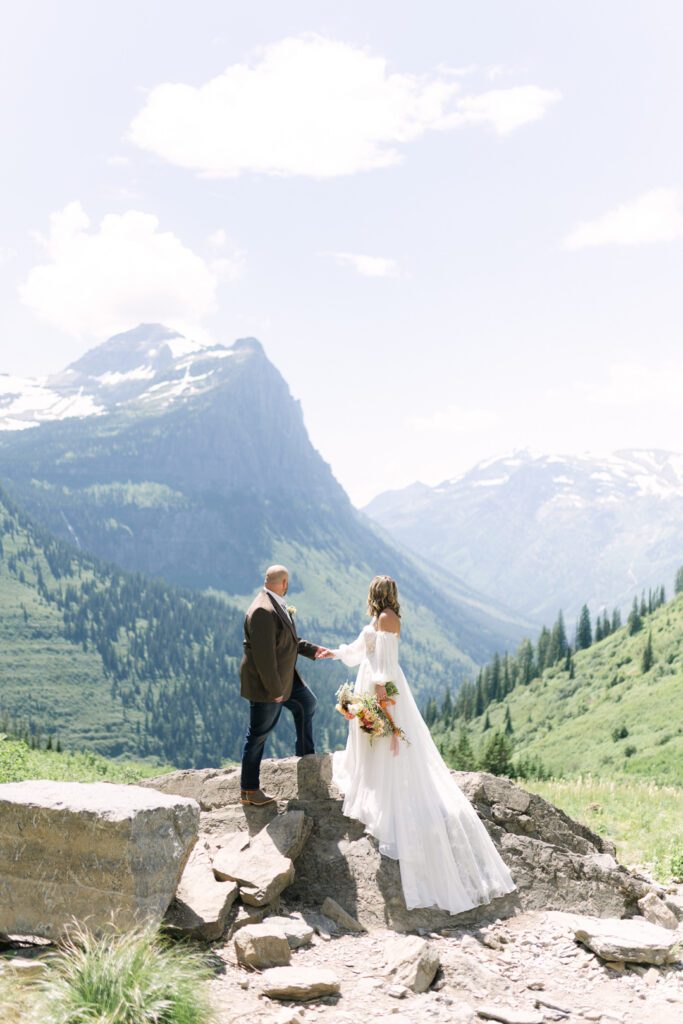
One of the biggest mistakes I see people make is treating Logan Pass as one single photo location. It isn’t. Think of the area as a collection of different scenes. You have sweeping mountain views, alpine trails, wildflower-filled landscapes, rocky terrain, overlooks, and sections of Going-to-the-Sun Road nearby. The Hidden Lake area is especially beautiful for that quintessential high-alpine Glacier look, while other viewpoints around Logan Pass can give you huge landscapes without requiring a significant hike.

Paradise Meadow / Big Bend
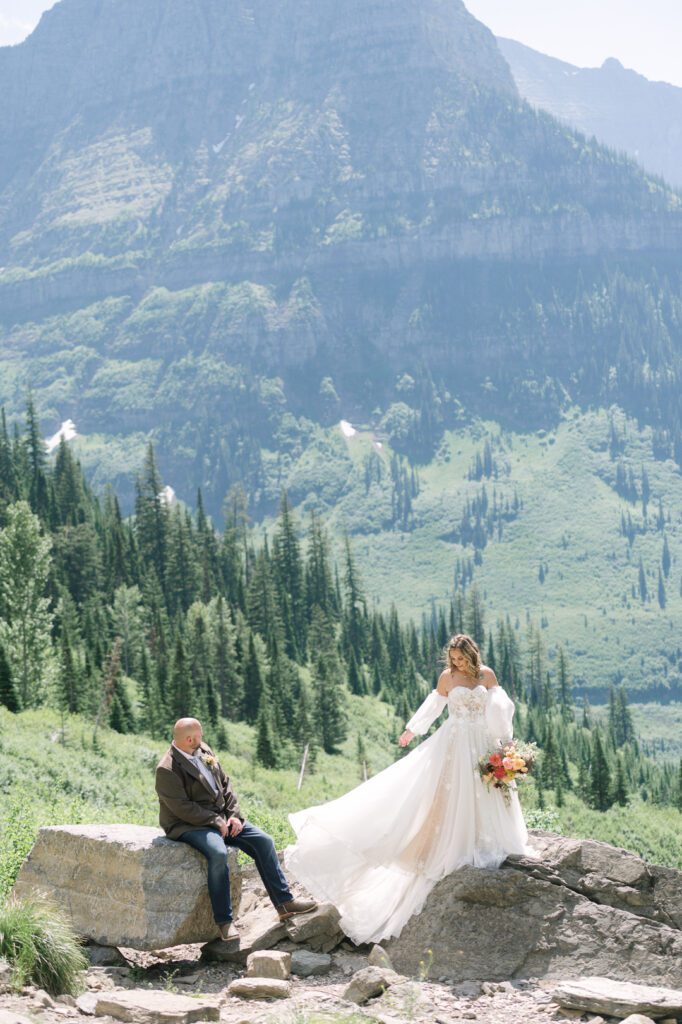
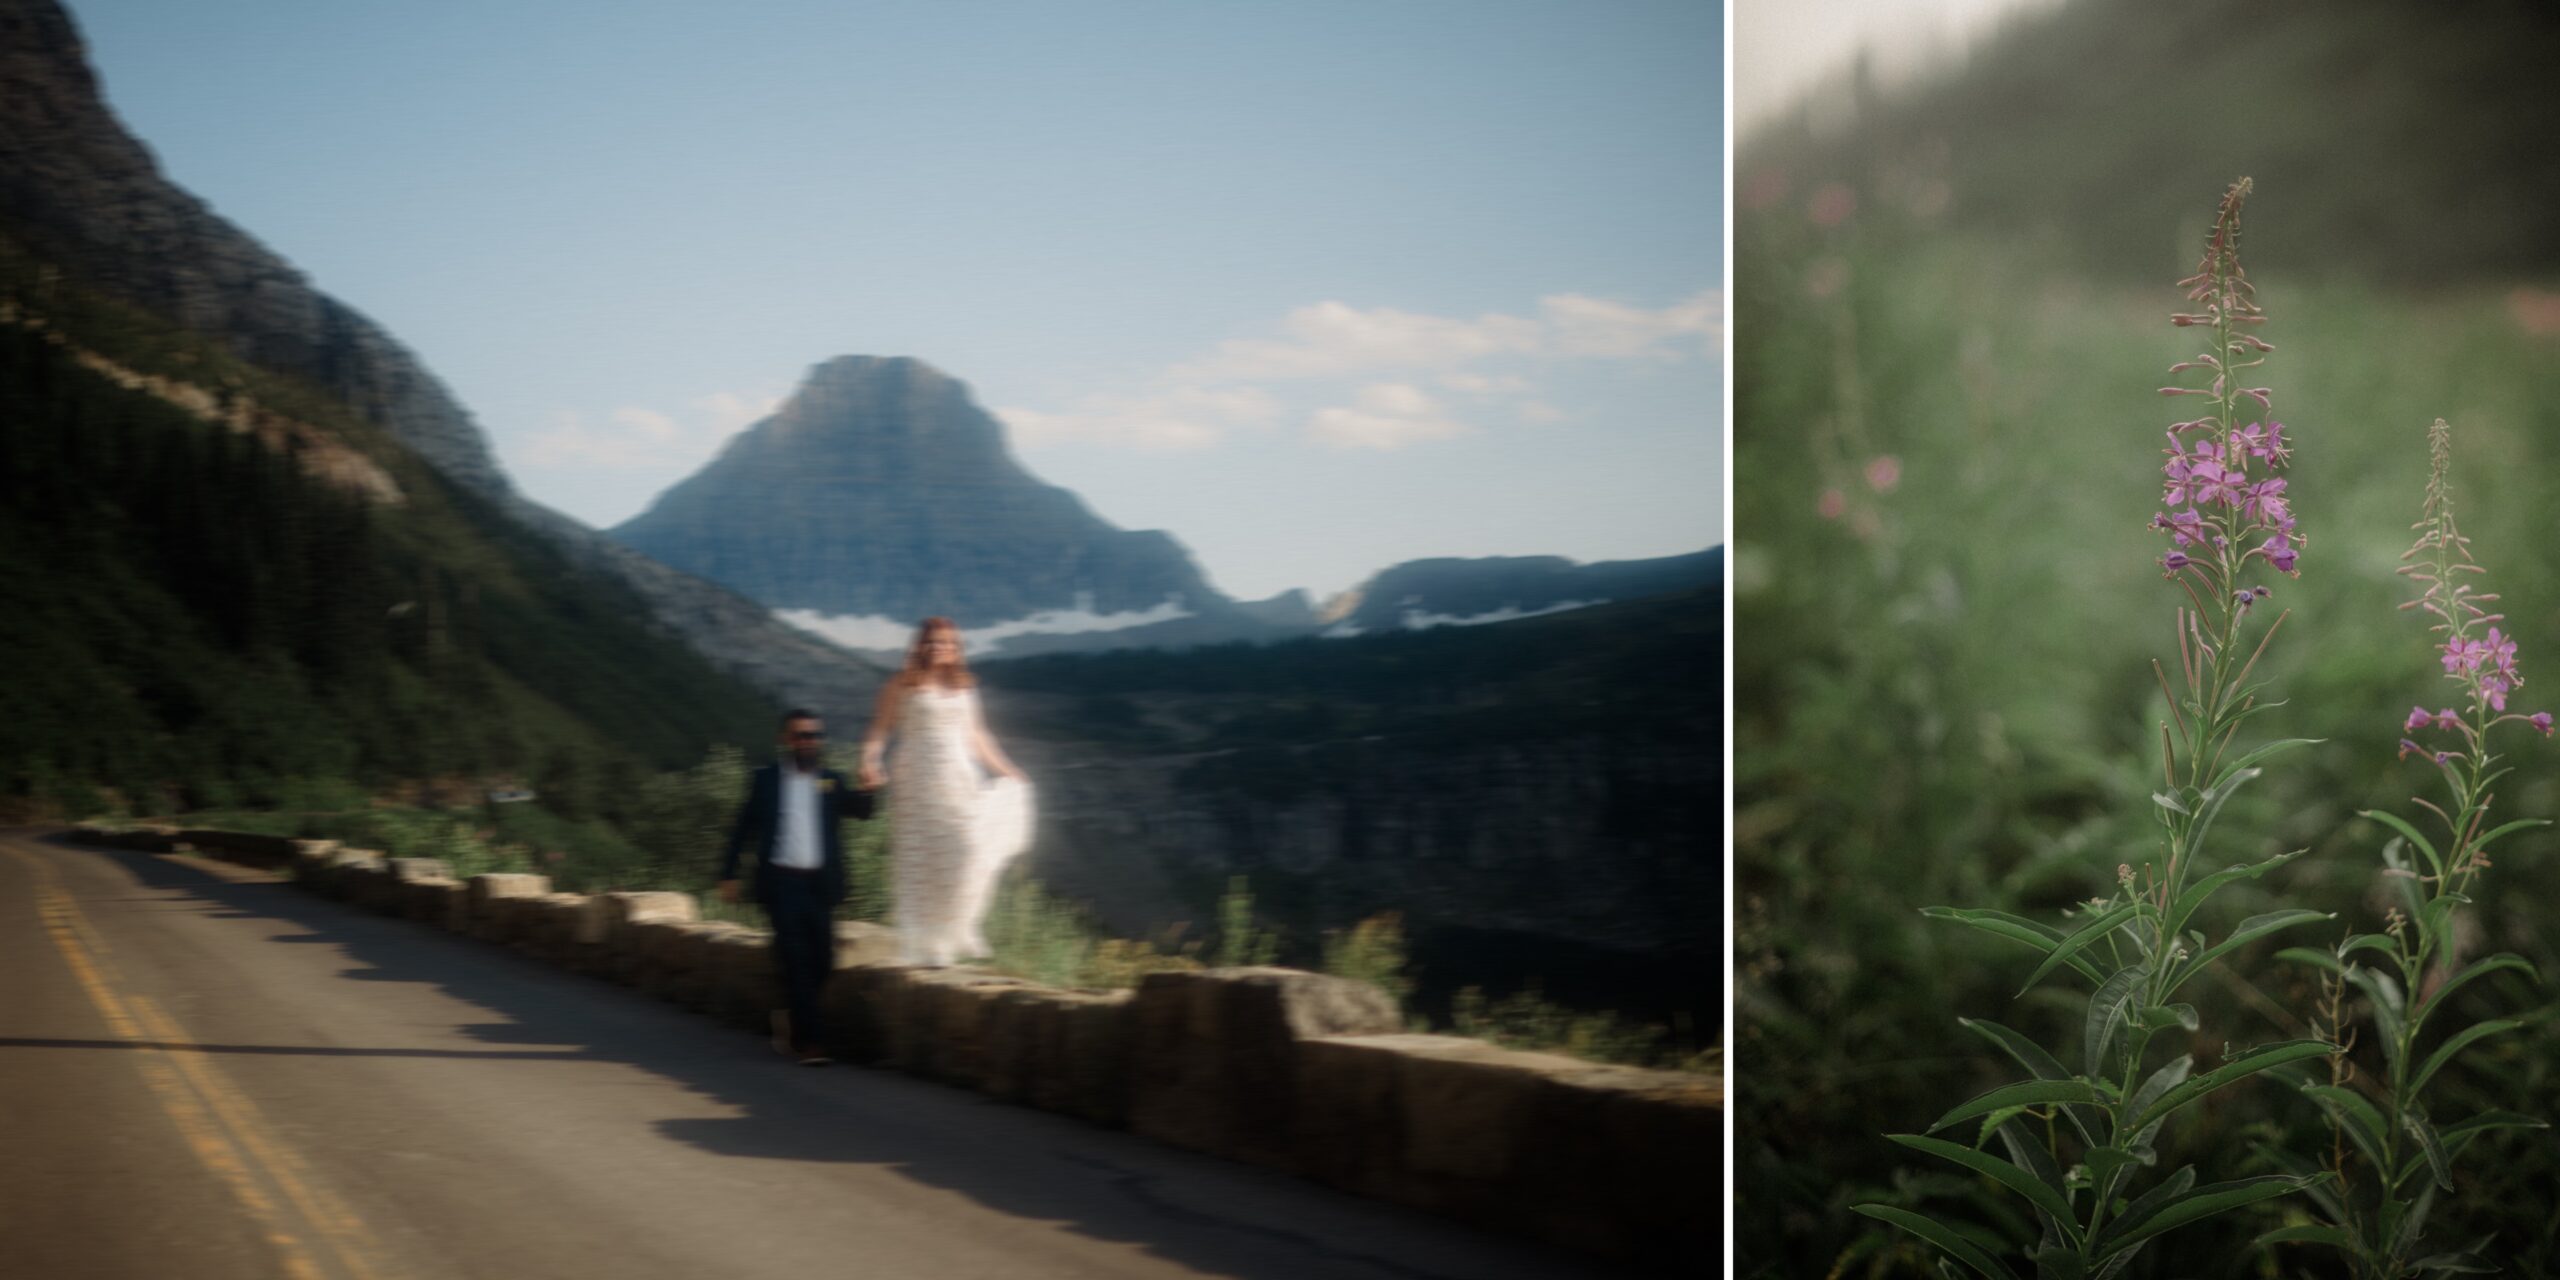
Paradise Meadow, near Big Bend on Going-to-the-Sun Road, is one of my absolute favorites when you want those huge, cinematic Glacier photographs. You get towering mountains, open meadow views, and a landscape that makes your couple look tiny in the very best way.
Photographer pro tip: This is an incredible place to use a longer lens and photograph your couple against the mountains. Be extremely mindful of vegetation and photograph only from legal, durable surfaces. Big Bend is also a roadside location, so never stop or park outside designated areas just to get a photograph.


Logan Pass Highline Trail
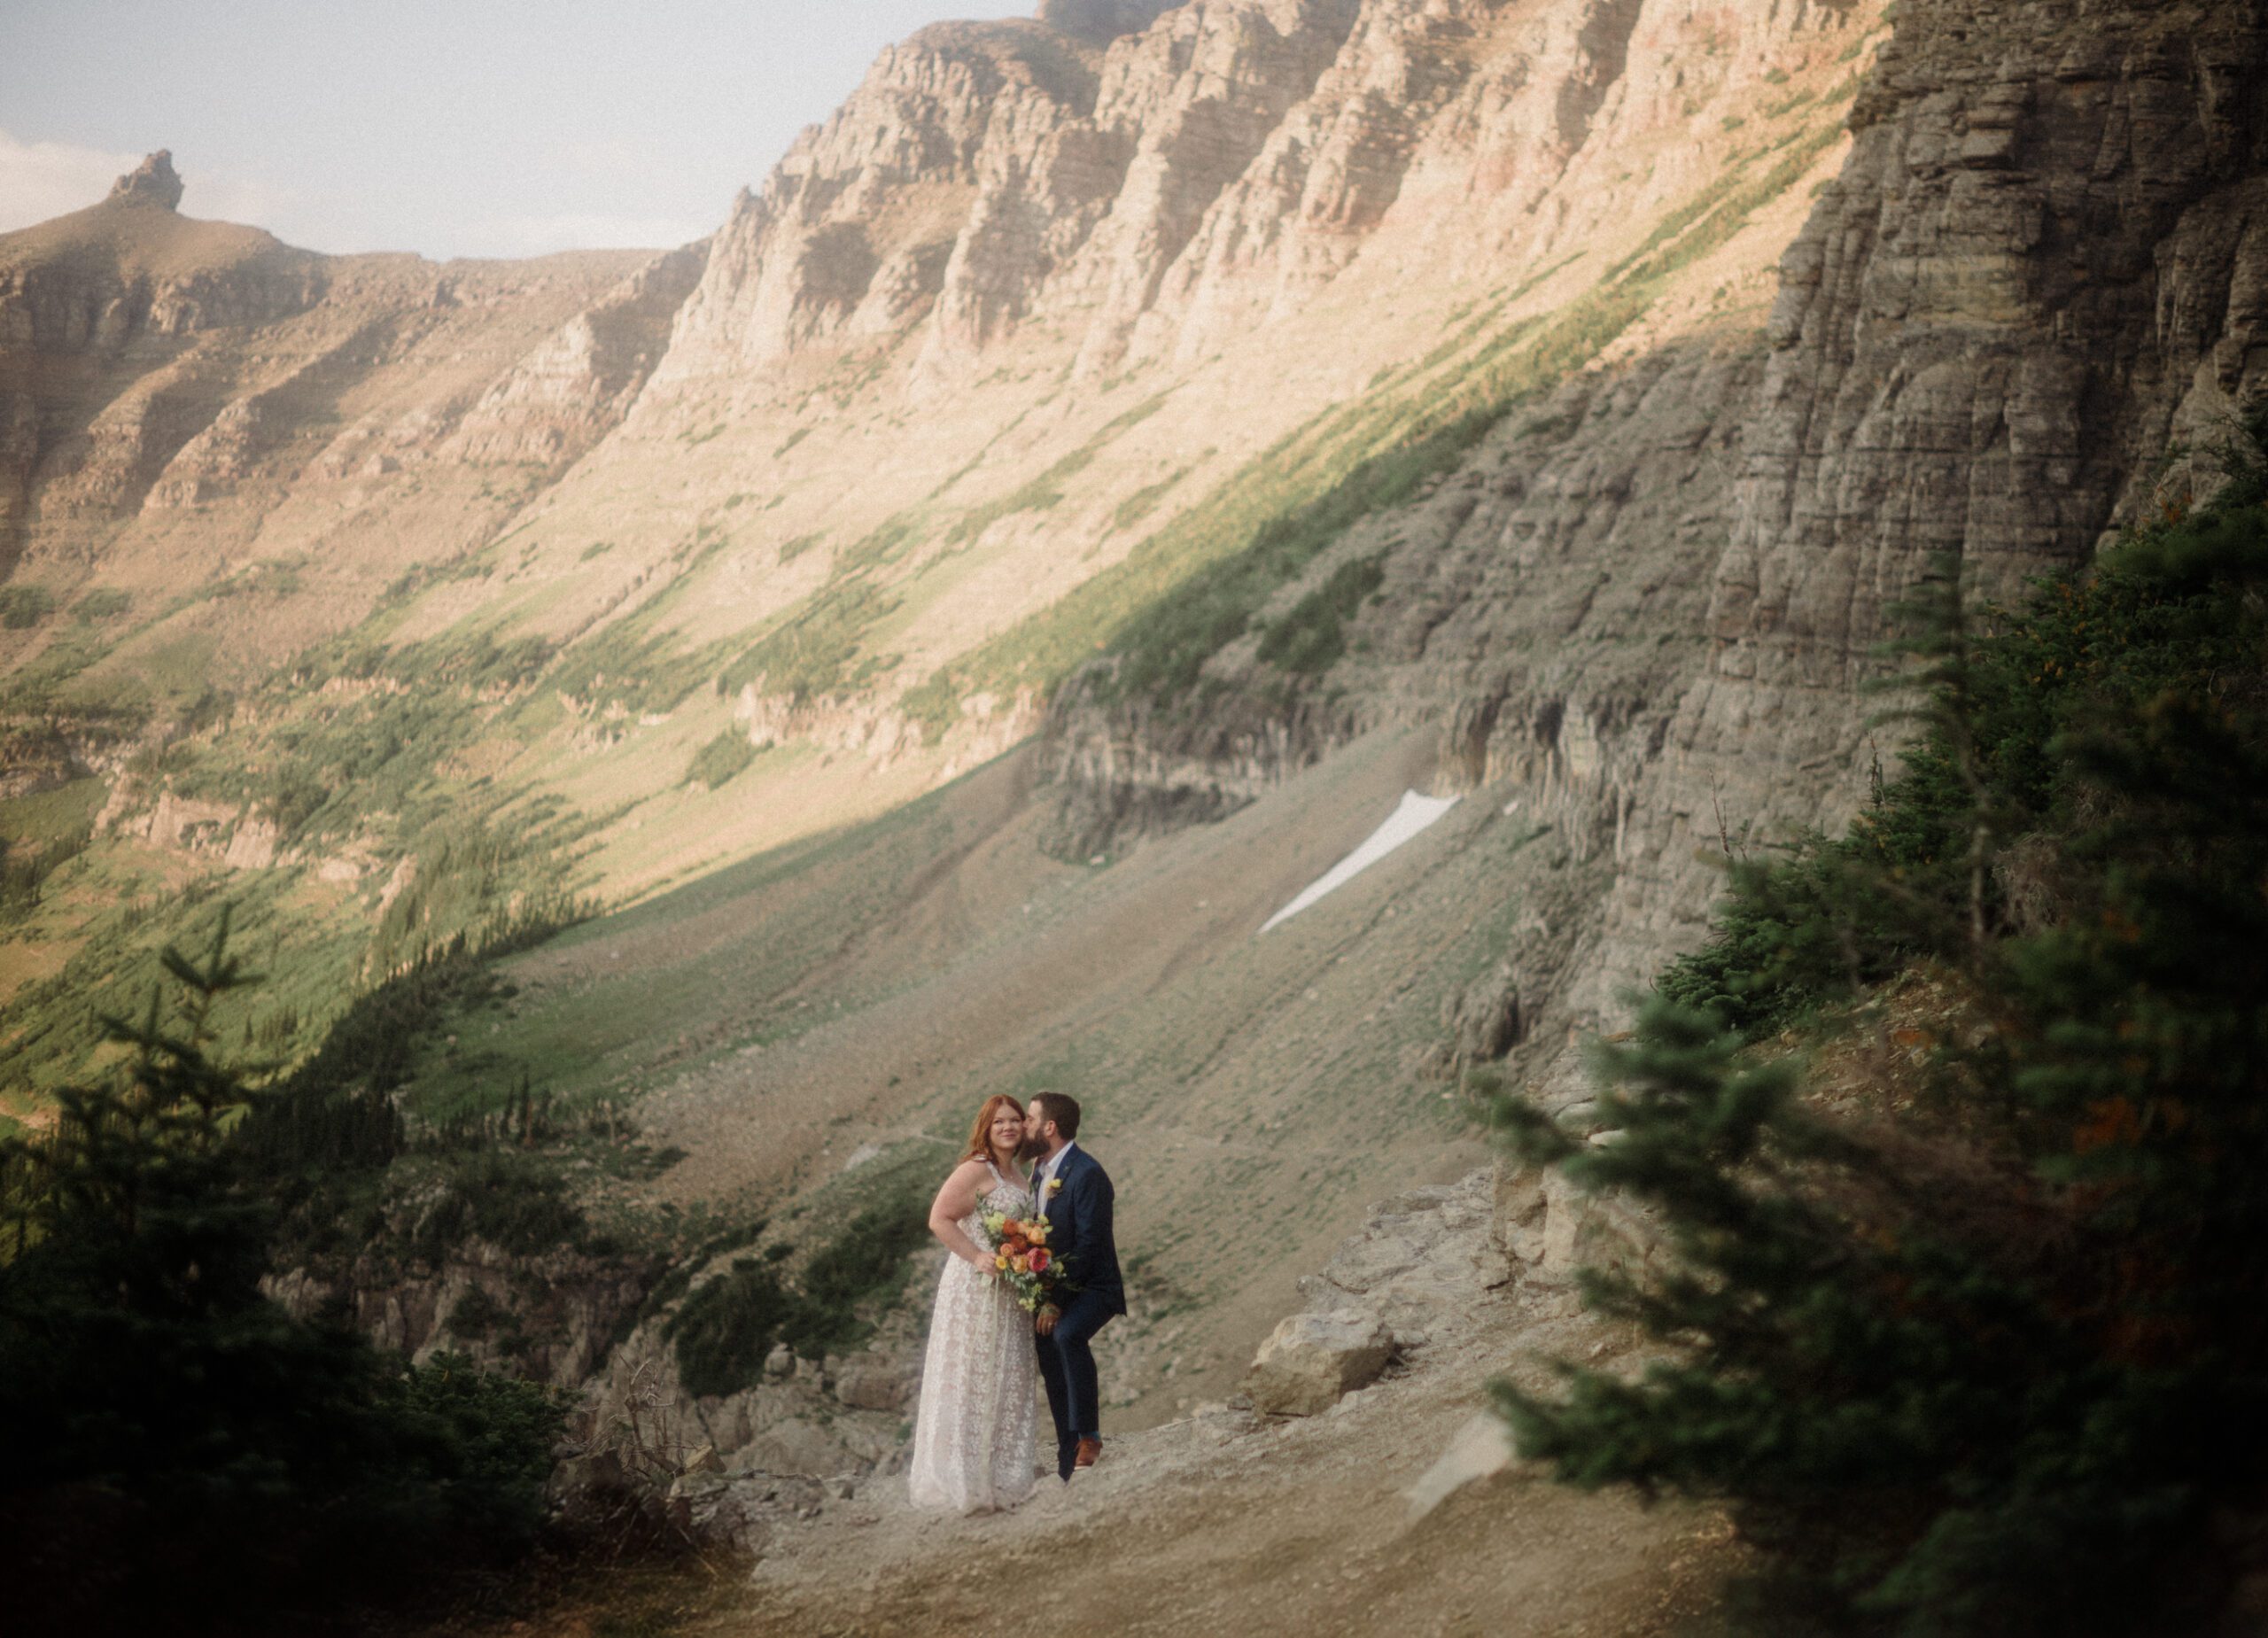
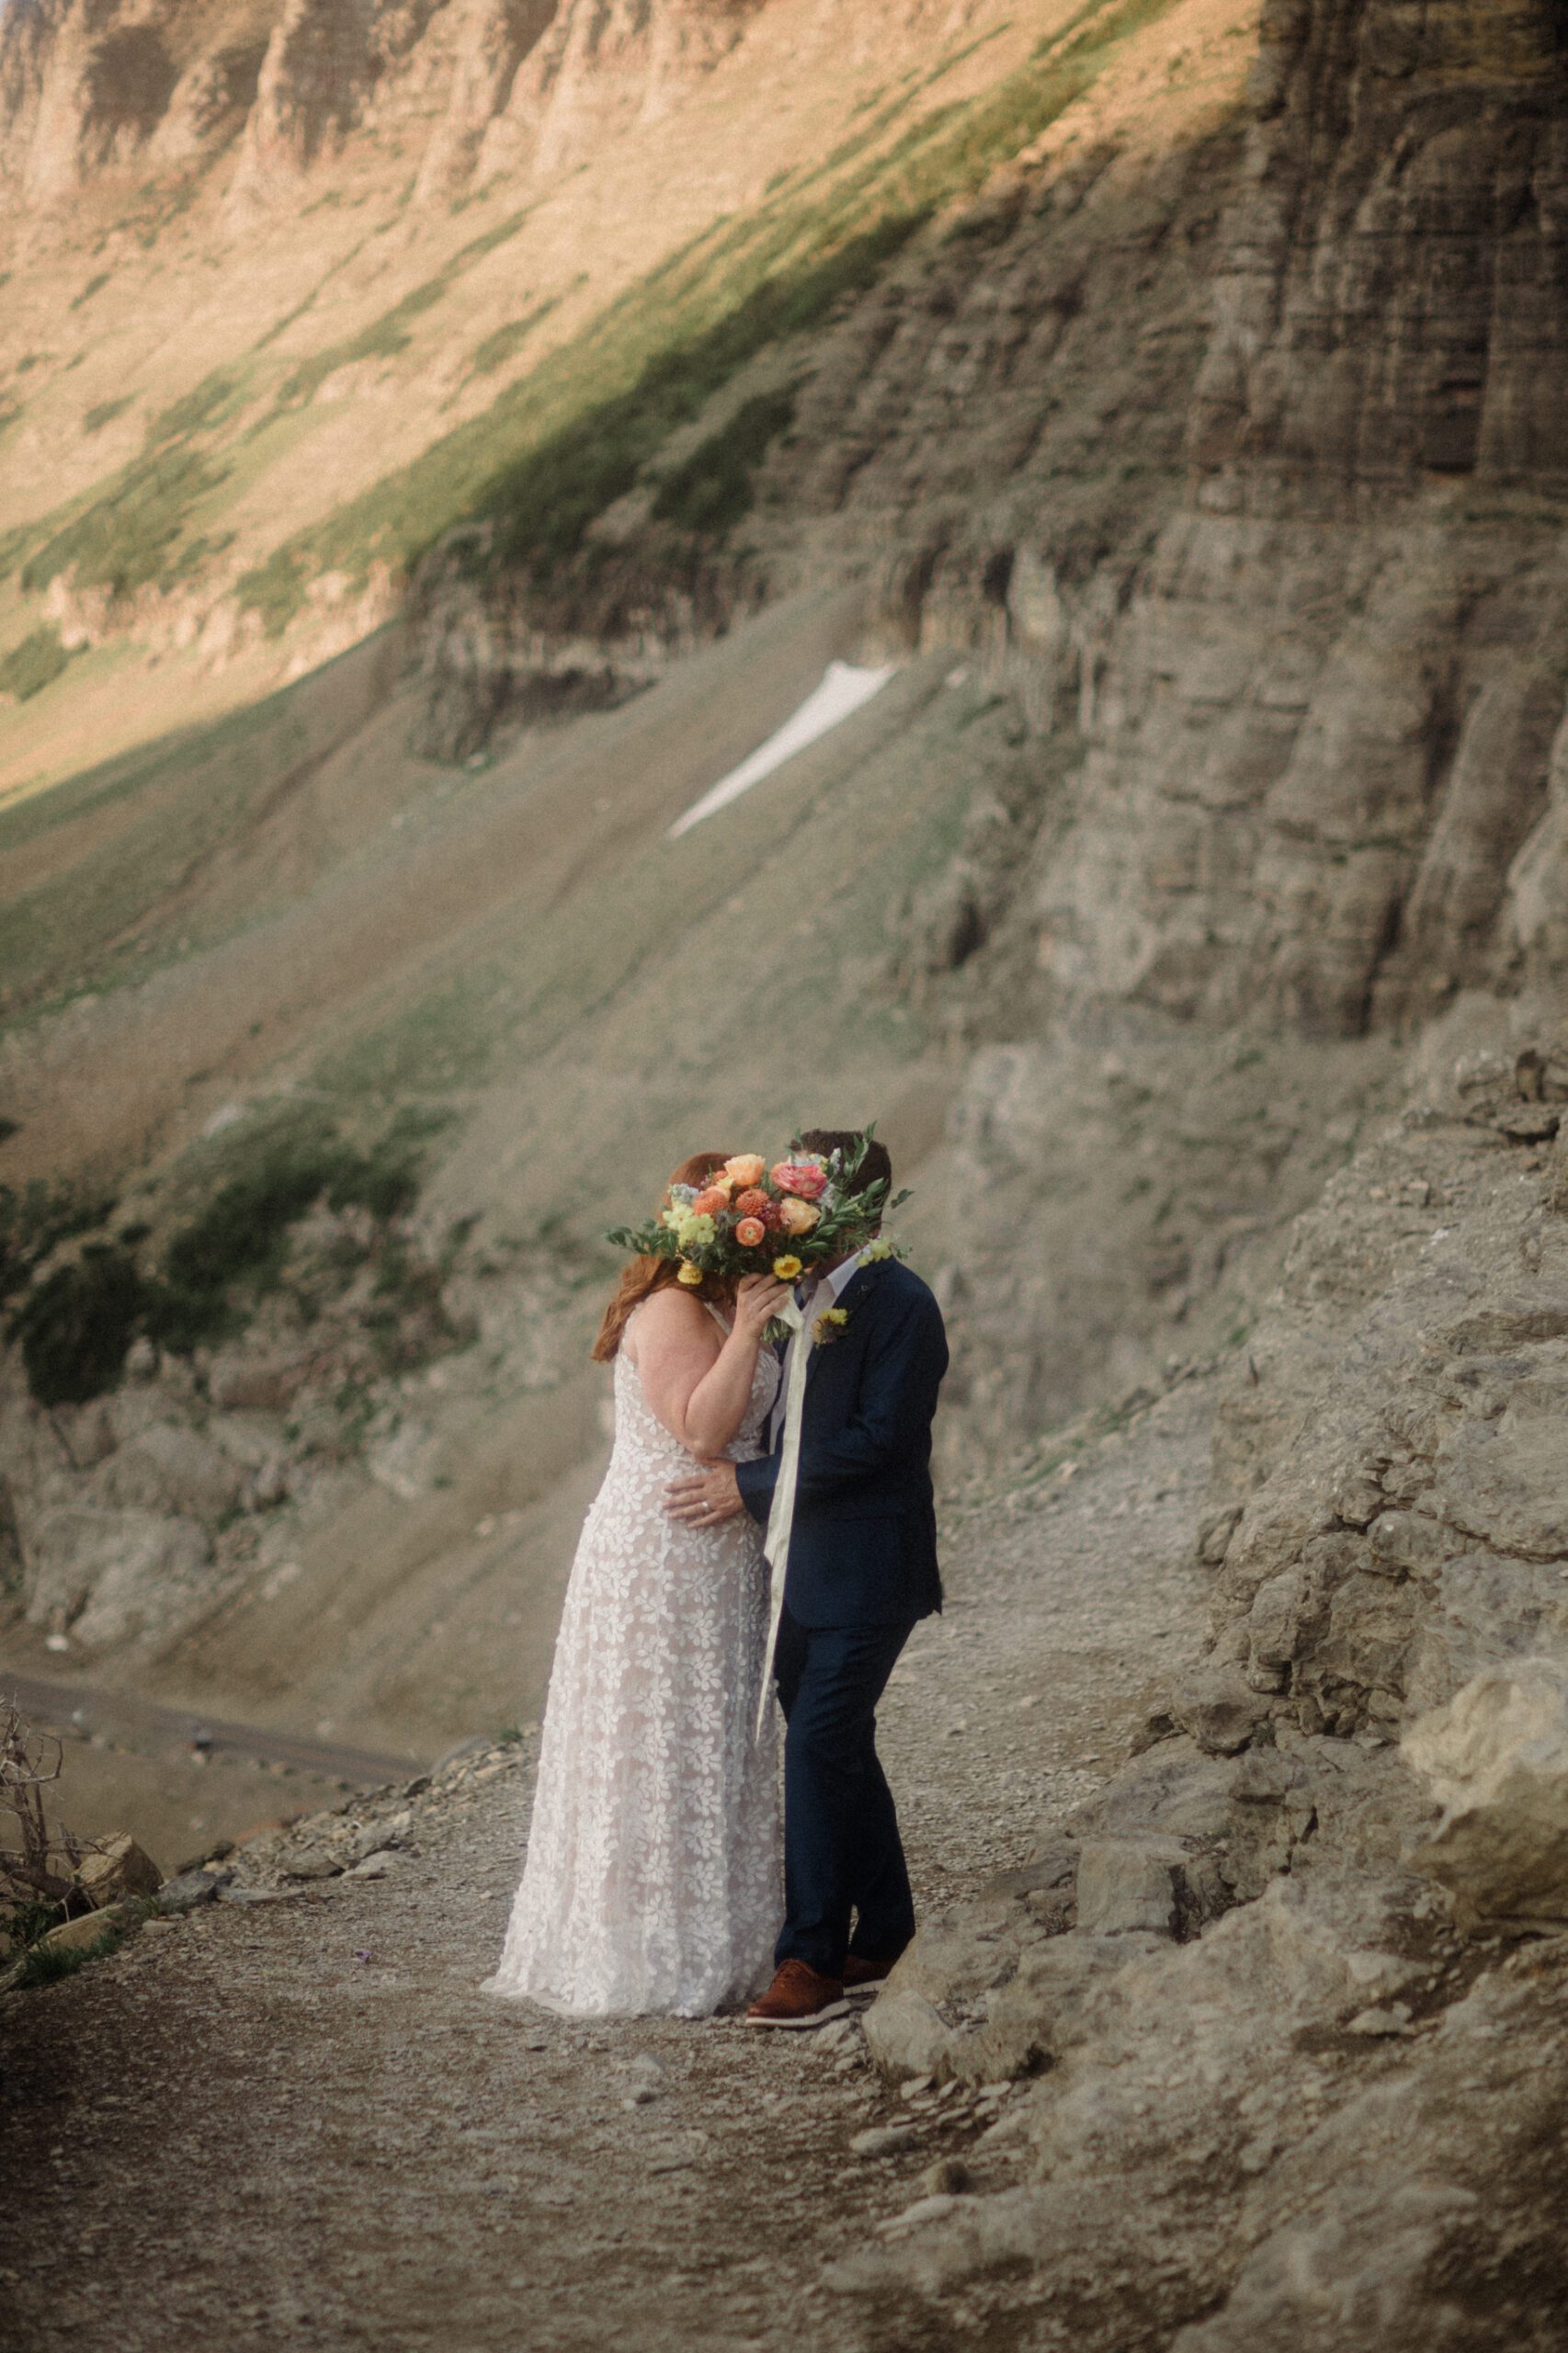
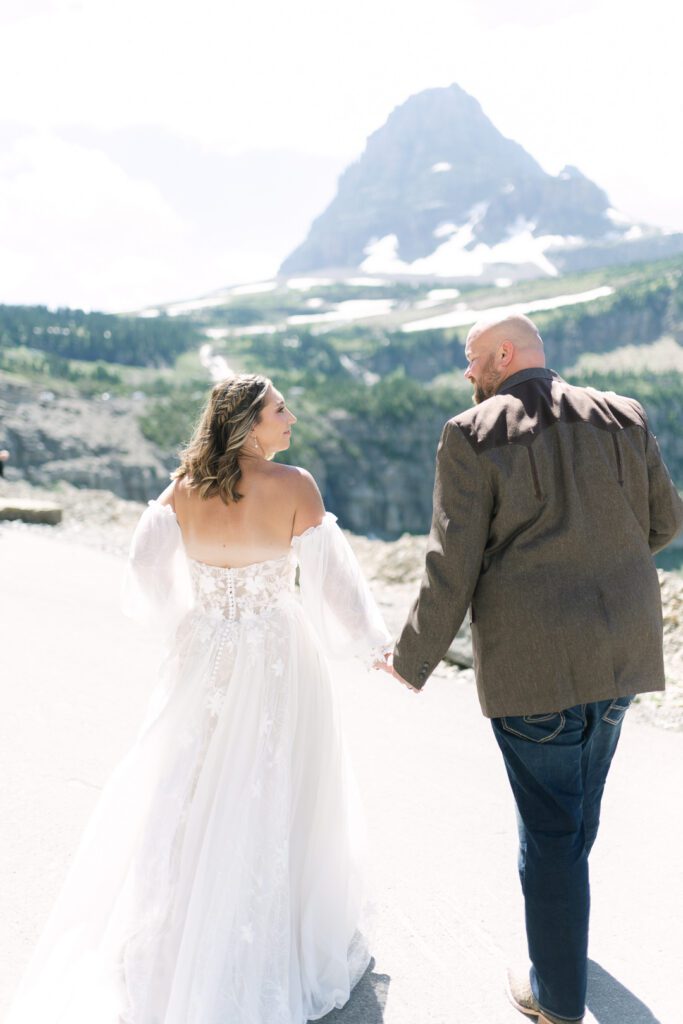
The Highline Trail begins directly across Going-to-the-Sun Road from the Logan Pass Visitor Center and immediately gives you some serious mountain drama. You don’t necessarily need to hike the entire trail to incorporate the Highline look into a session. Even the beginning can give you elevated views, rocky mountainsides, movement, and that adventurous “we actually went somewhere” feeling.
If you are planning a longer Highline adventure, logistics become more important. In 2026, visitors planning longer hikes from Logan Pass, including the Highline toward Granite Park Chalet or the Loop, need to use the park’s ticketed shuttle rather than relying on the three-hour Logan Pass parking window. Trail openings also vary with snow conditions, so always check current conditions before your session.

Logan Pass Visitor Center
The Logan Pass Visitor Center is less about being your photo backdrop and more about being an incredibly useful home base. It’s located at 6,646 feet on the Continental Divide, with trails and mountain scenery radiating out from it.
There are restrooms, a water bottle filling station, ranger information, and access to both the Hidden Lake and Highline areas. I love using this as the meeting point before moving couples into the surrounding landscape. Just remember that Logan Pass parking is extremely competitive, and in peak summer 2026, private vehicles are limited to three hours.
Hidden Lake Overlook at Logan Pass
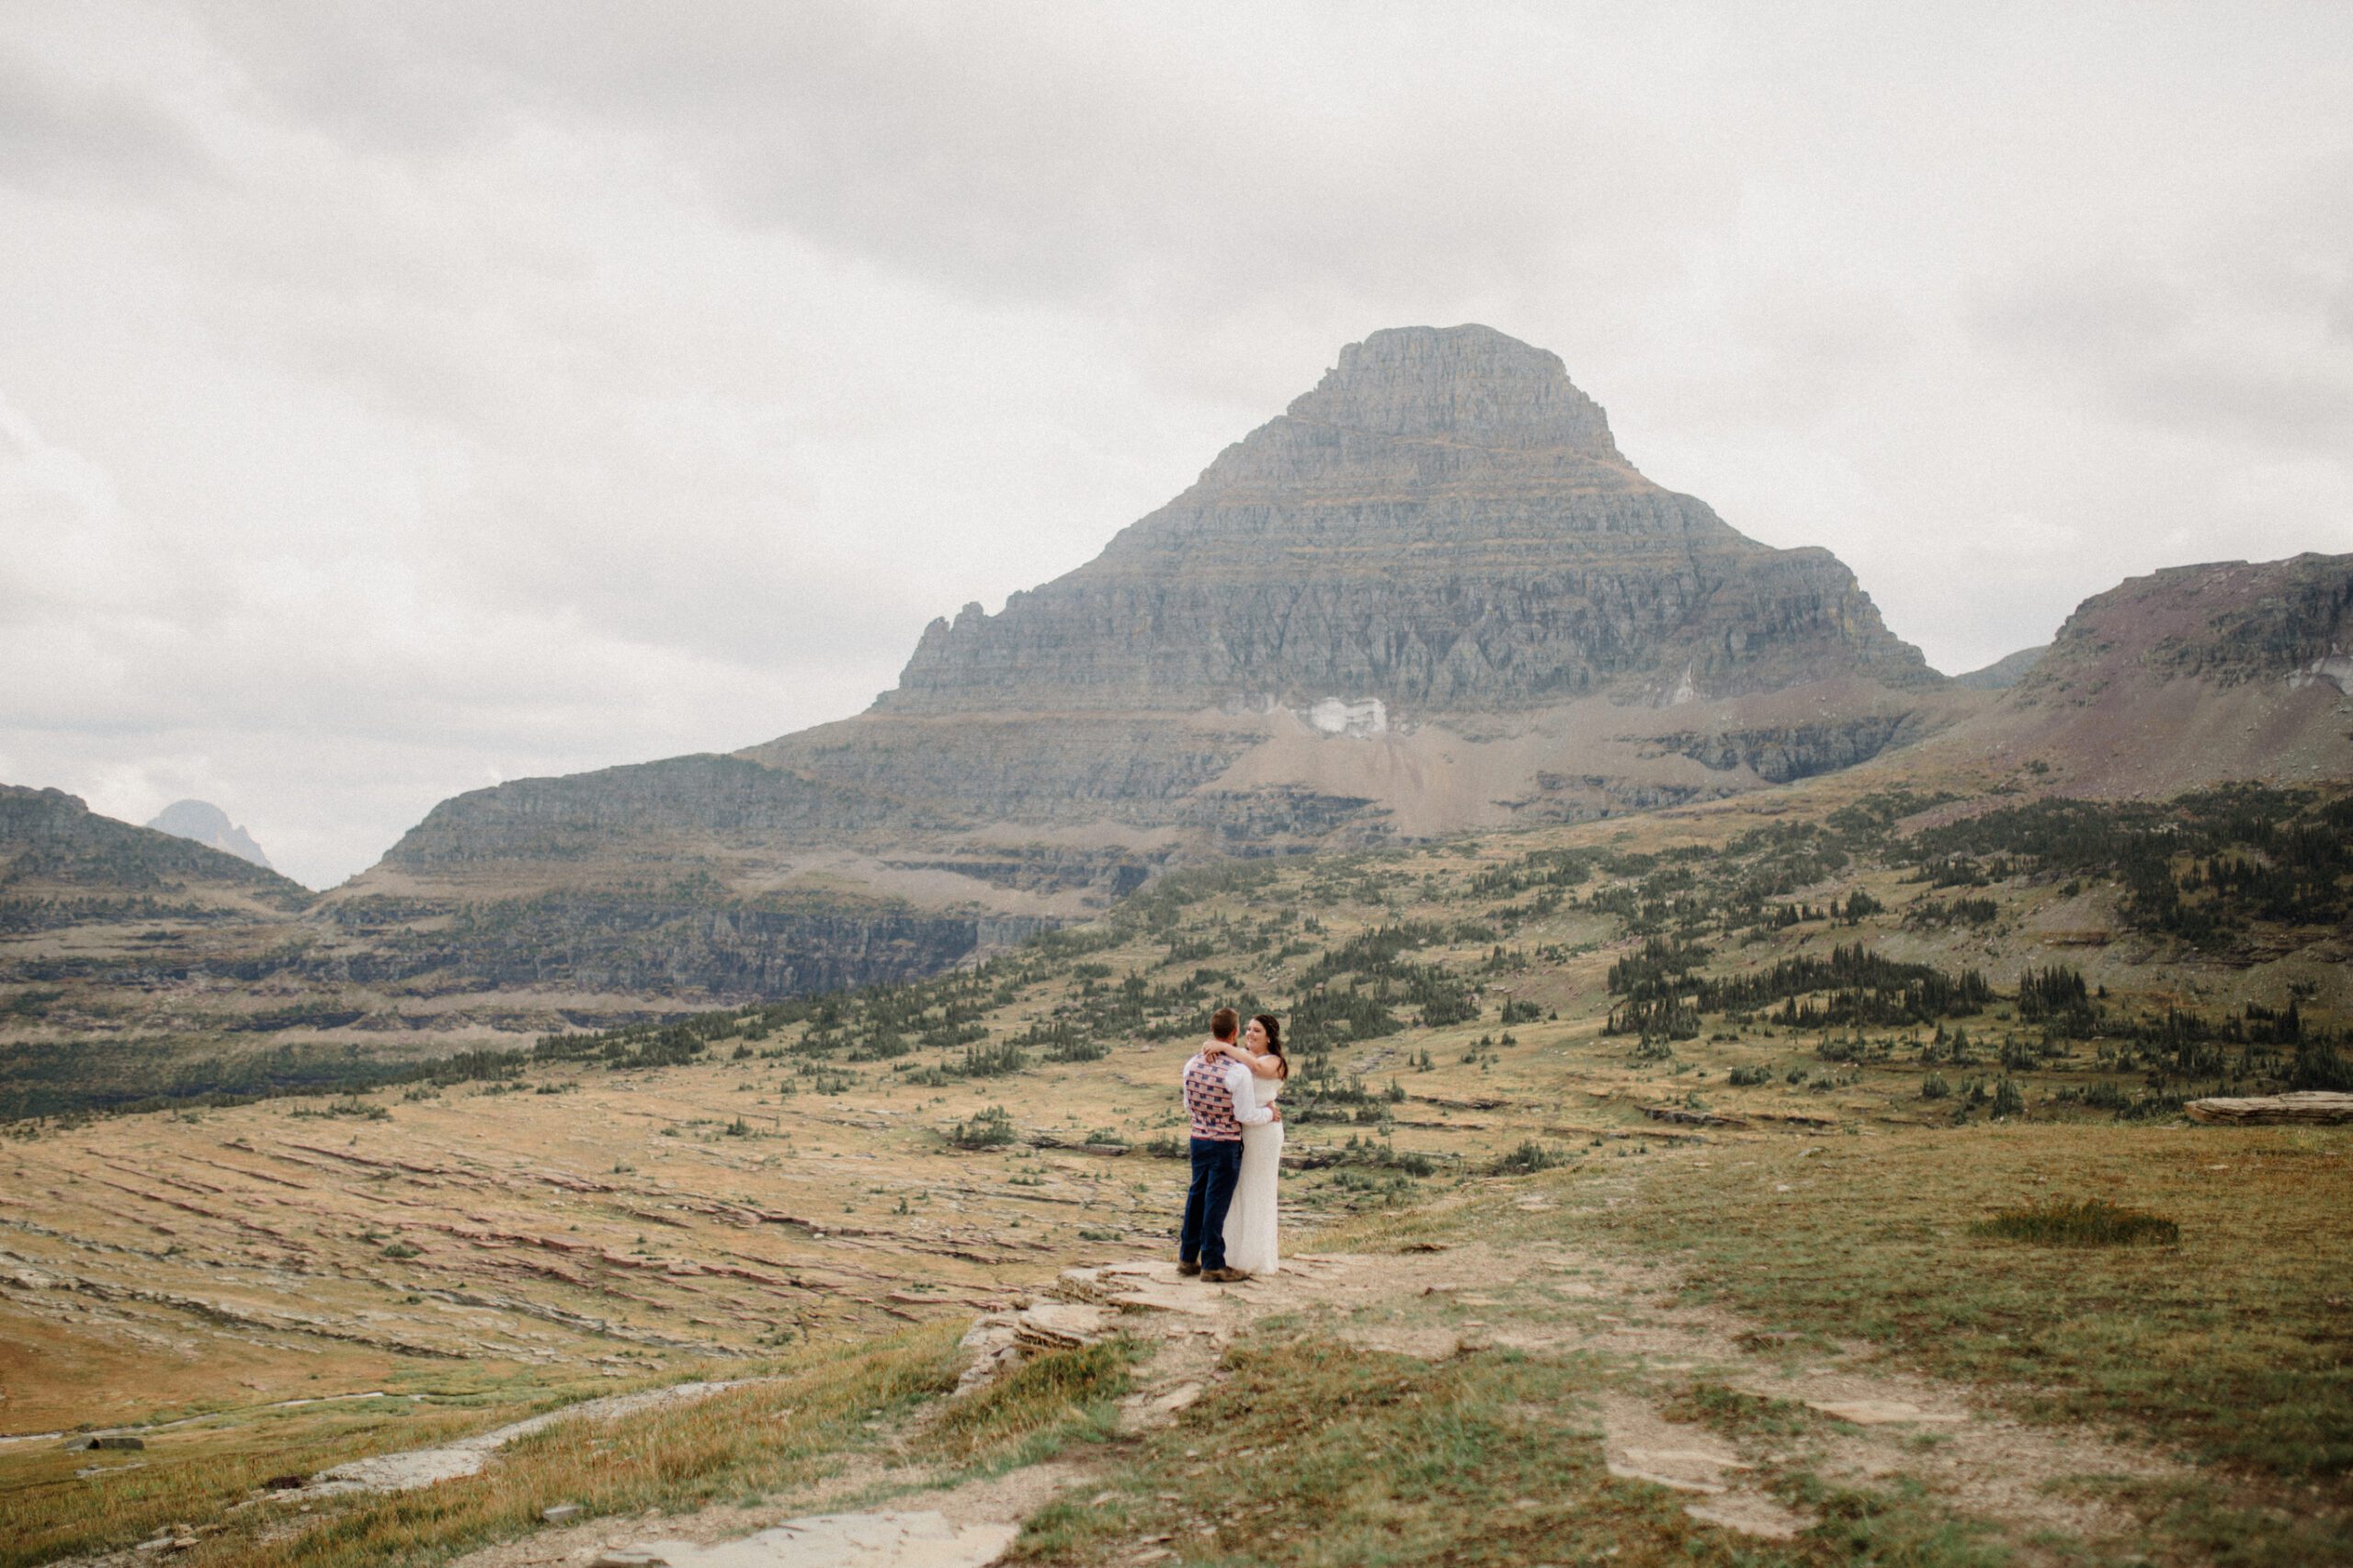
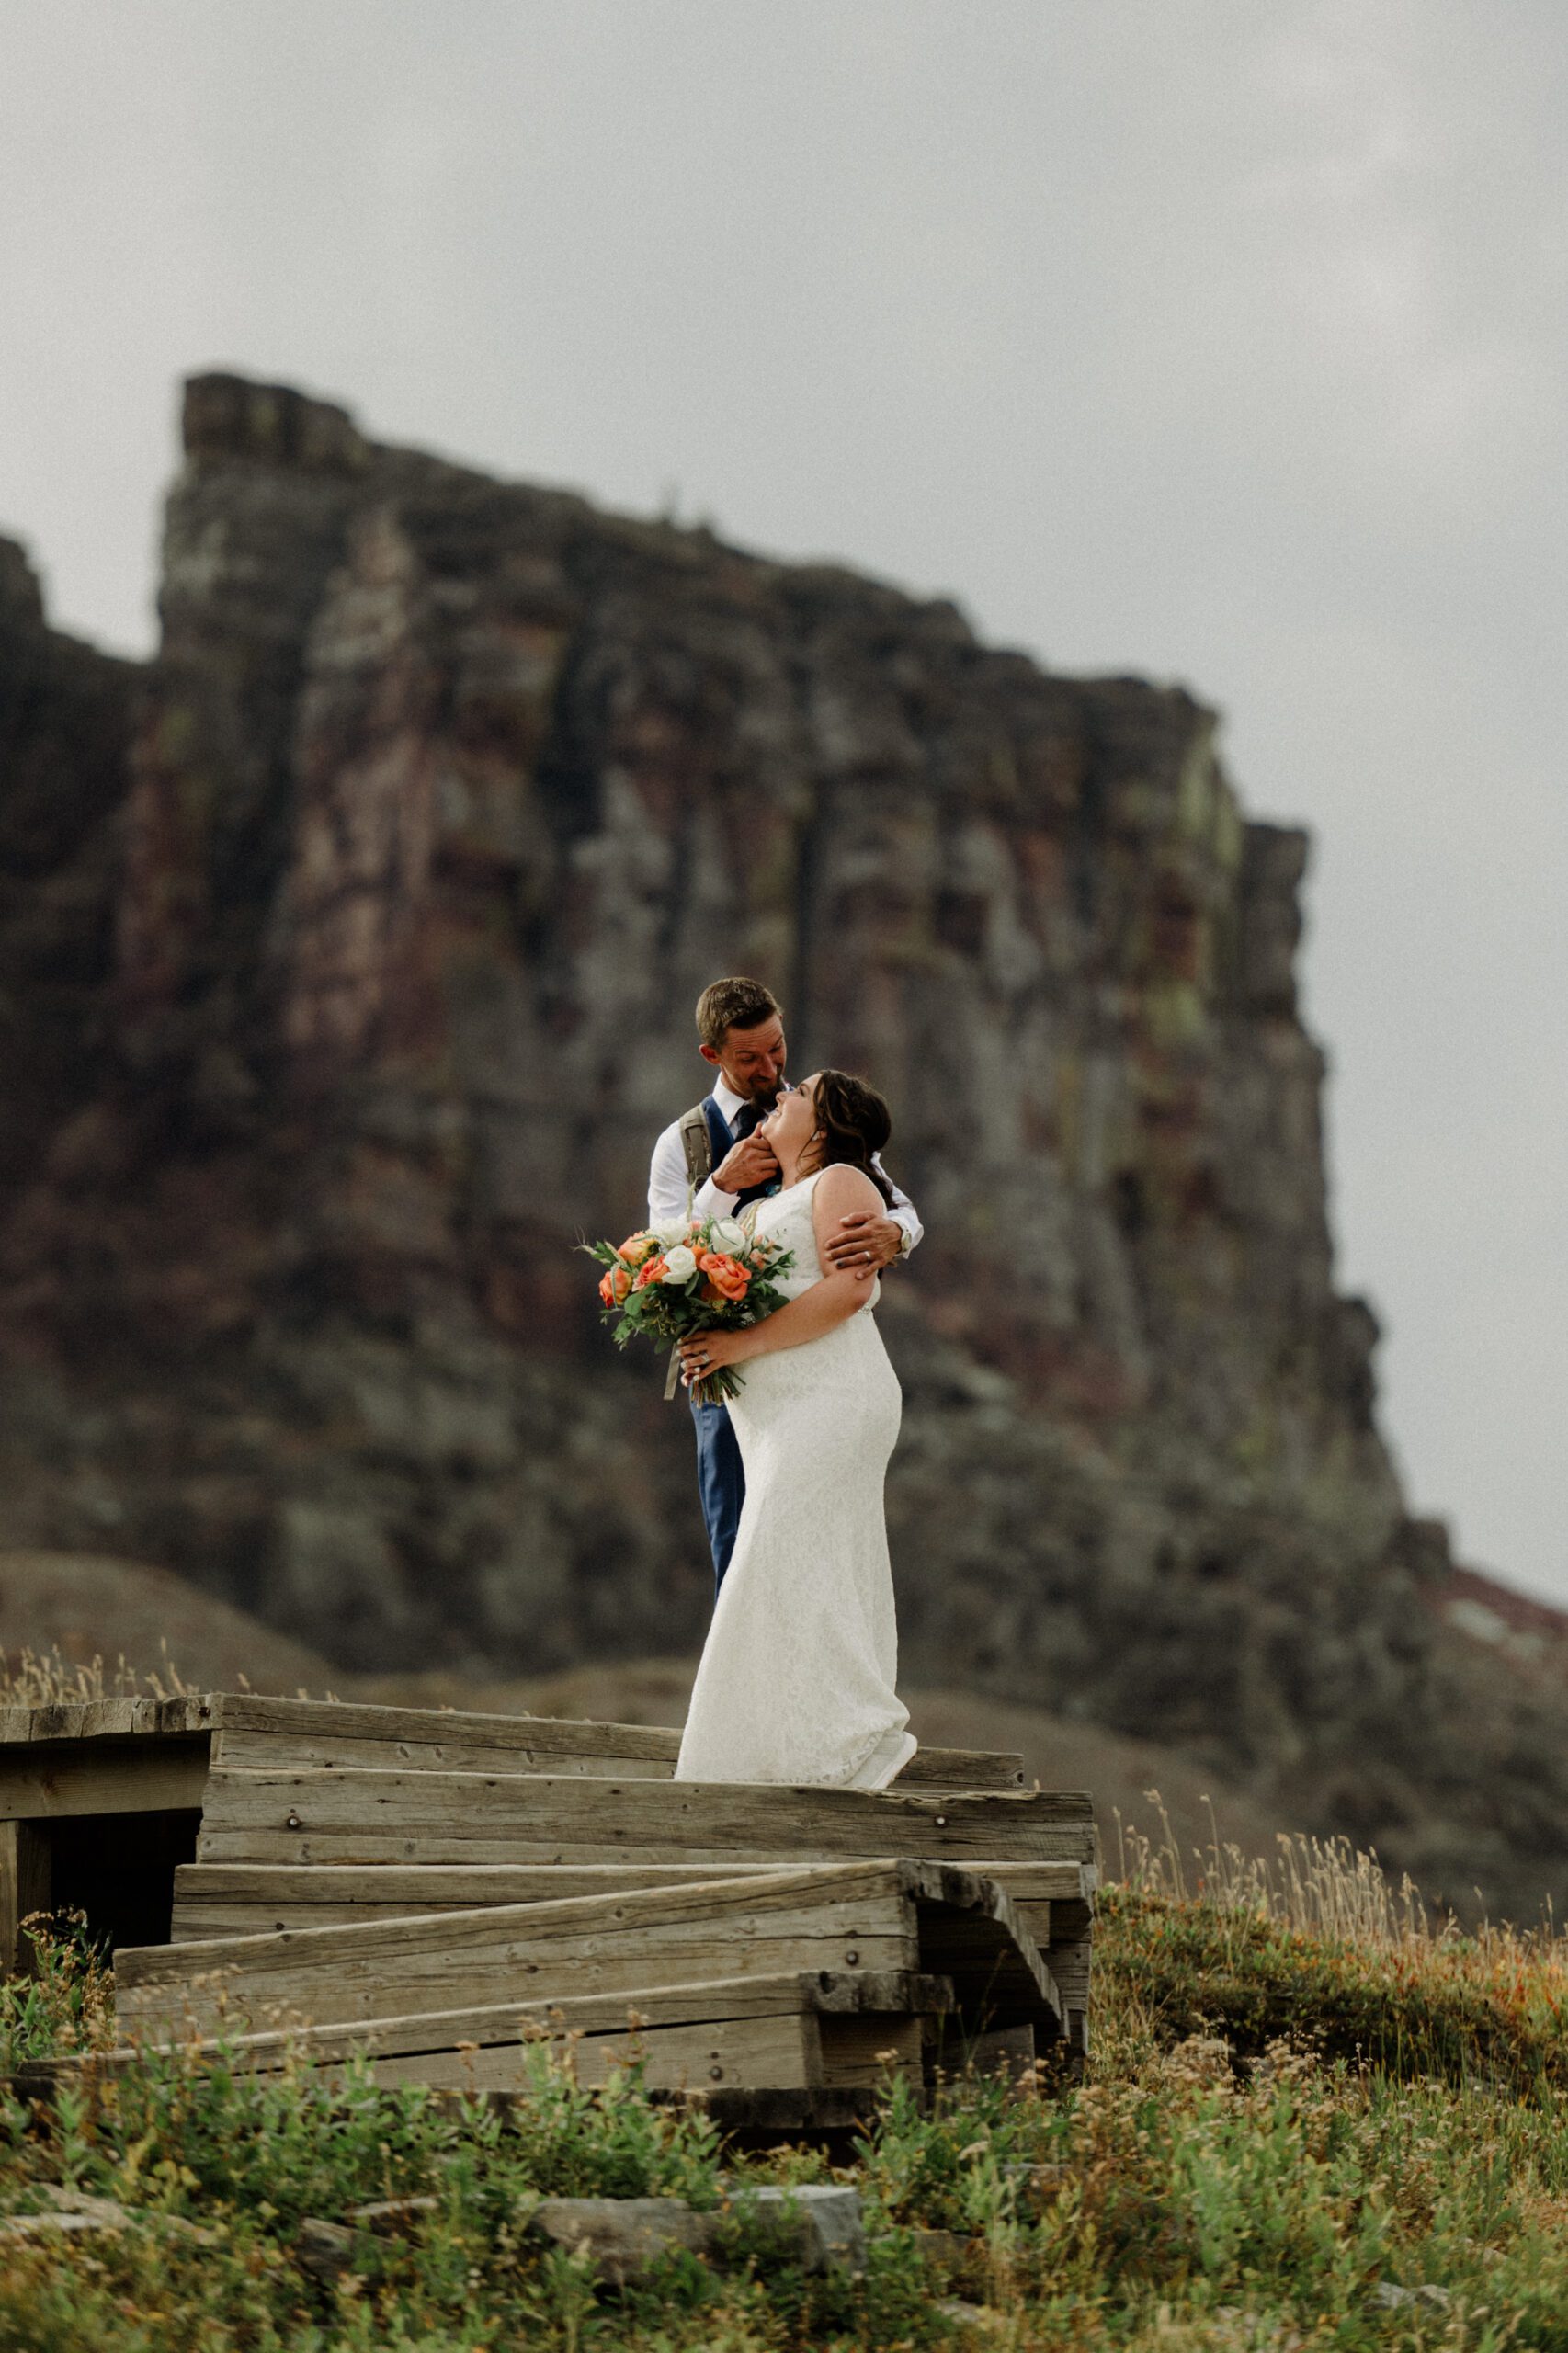
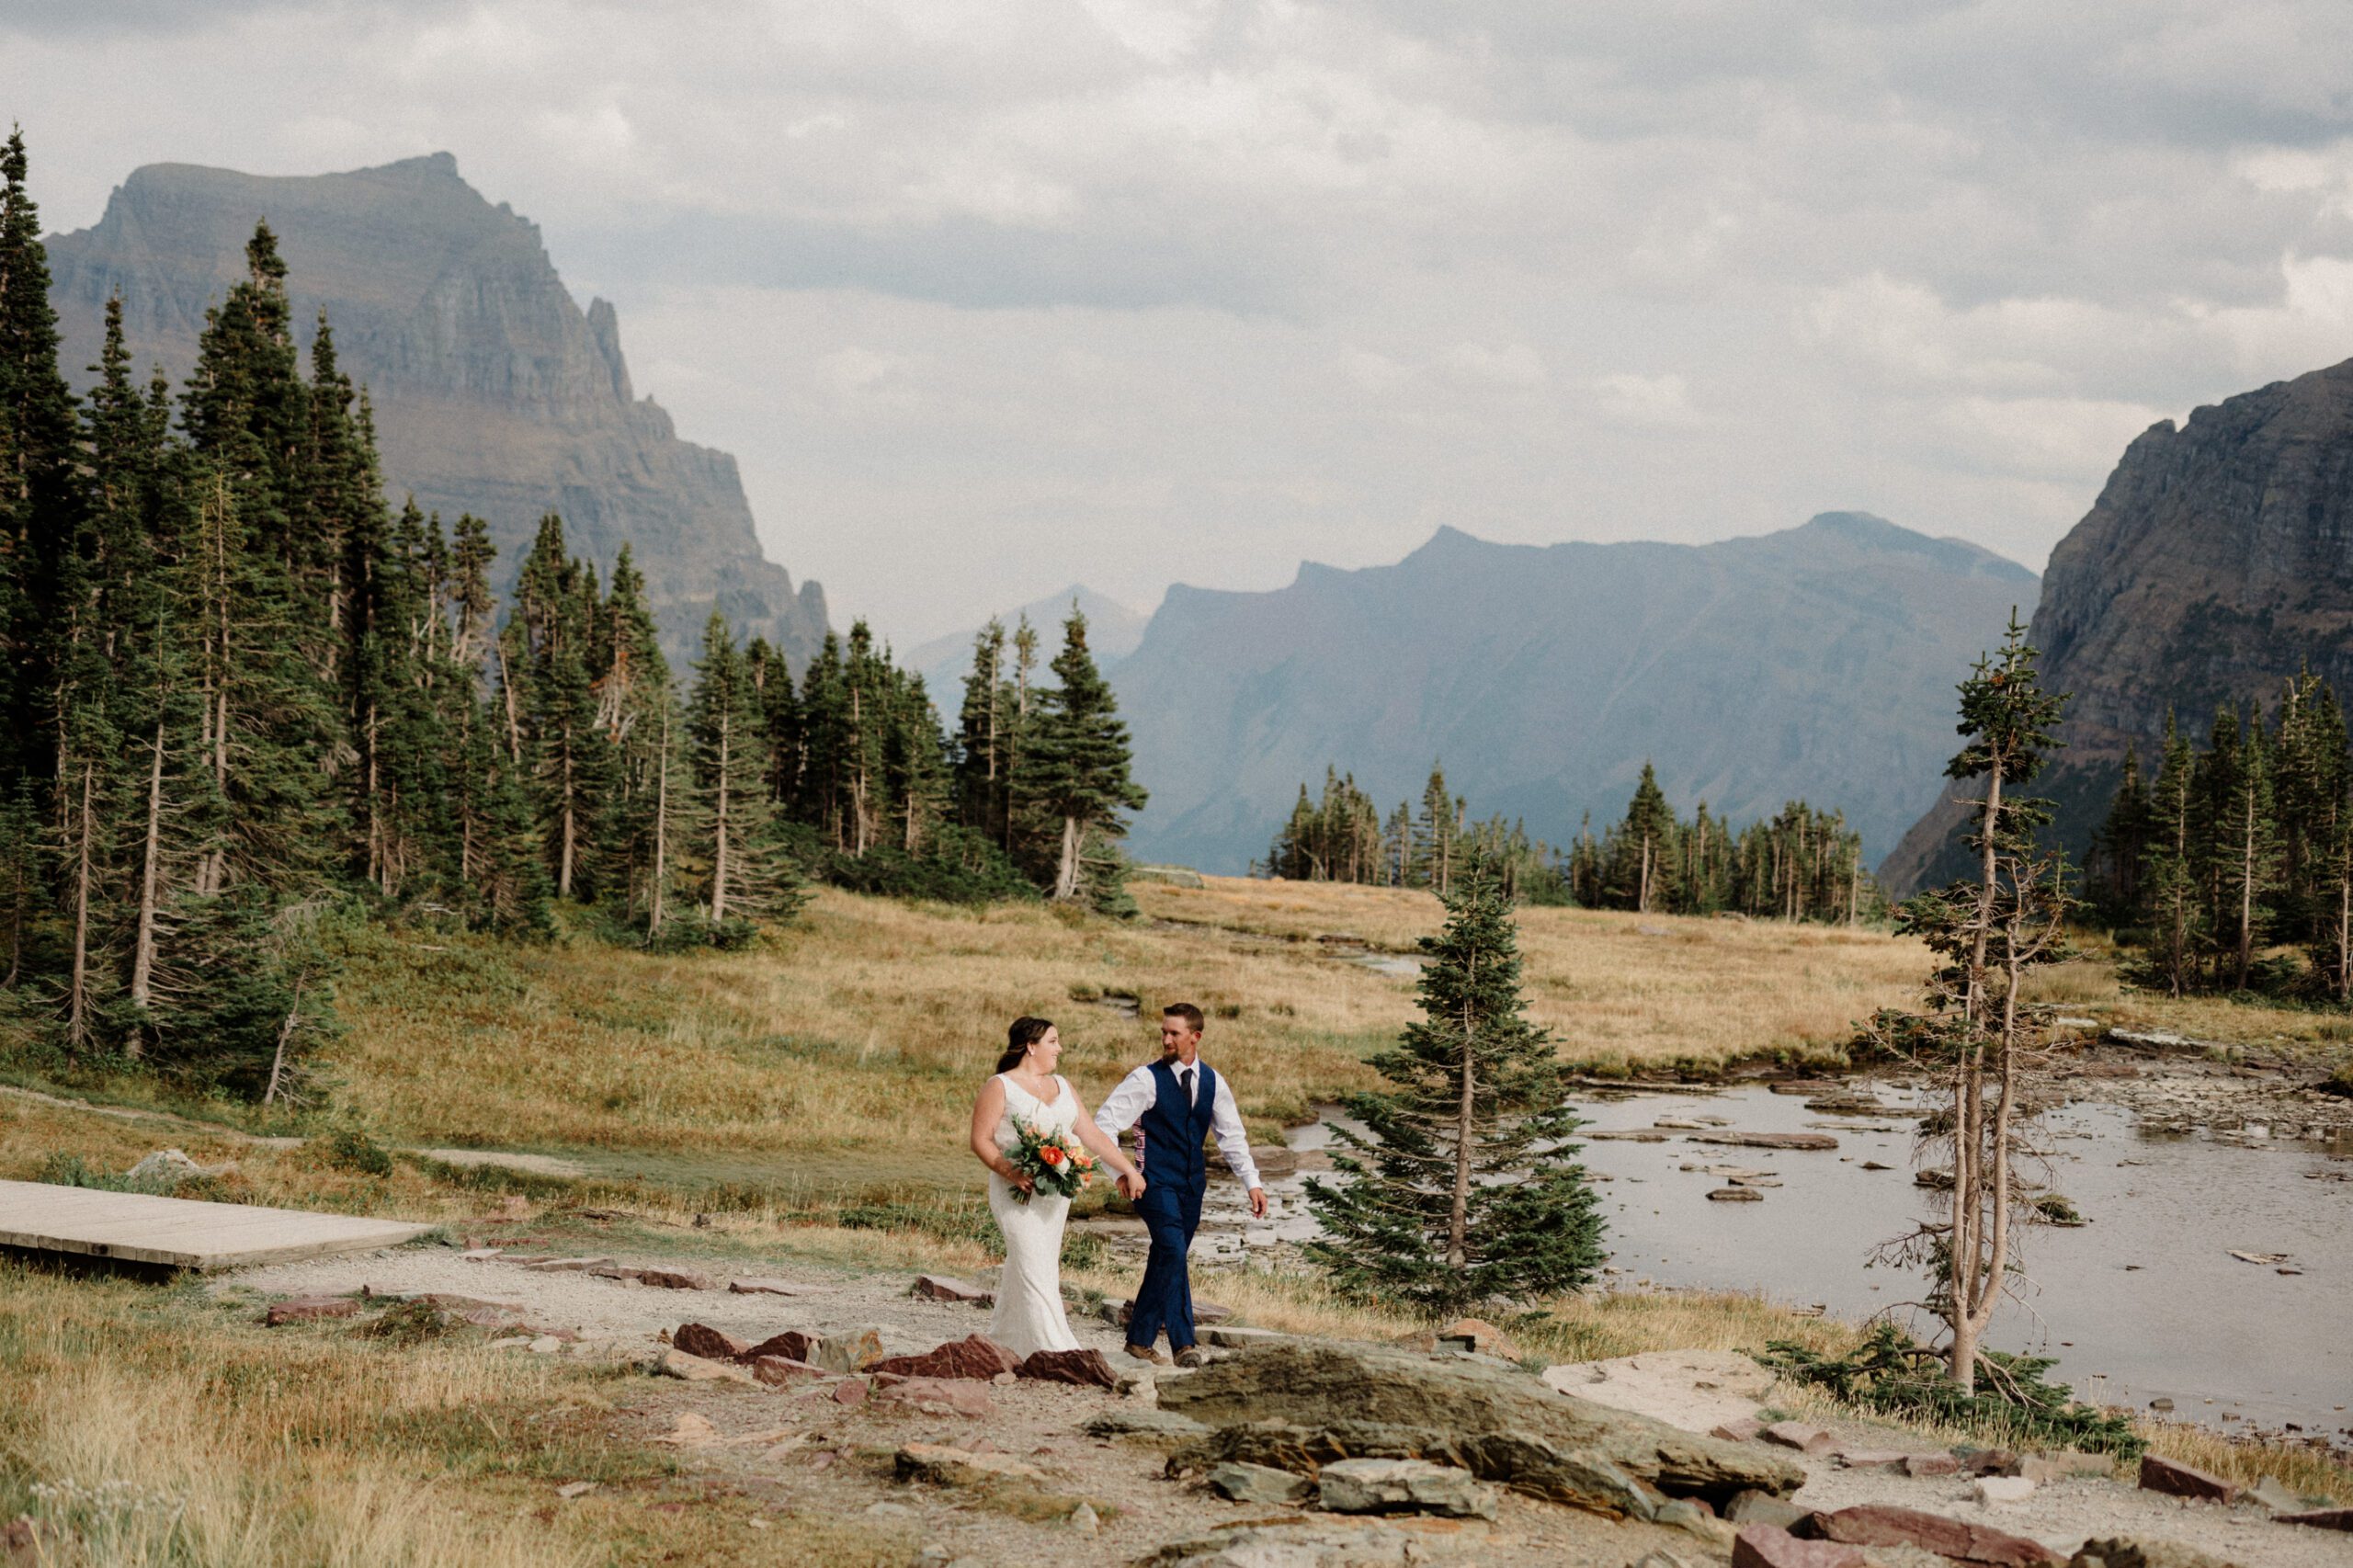
If you want the quintessential Logan Pass wedding and engagement photo experience and don’t mind walking, Hidden Lake Overlook is hard to beat. The trail begins behind the visitor center and travels through alpine meadows toward views of Hidden Lake, Bearhat Mountain, Mount Reynolds, and Clements Mountain.
The overlook is approximately 1.5 miles from the visitor center, so build hiking time into your photography coverage rather than treating it like a quick roadside stop. Snow can also remain well into summer. Most importantly, stay on the boardwalk and established trail. This ecosystem is incredibly fragile, and we can create beautiful photographs without trampling the thing we’re there to photograph.

Sun Point
Sun Point is fantastic when you want water and mountains in the same frame. The elevated views over St. Mary Lake give this area a completely different feeling from Logan Pass, and nearby trails can connect you toward Baring Falls, St. Mary Falls, Virginia Falls, and Sunrift Gorge.
This is a great option for adding variety to a longer Glacier photography experience. You can photograph the high alpine environment around Logan Pass and then head toward the east side for lake views and waterfalls without leaving Going-to-the-Sun Road.


Wild Goose Island Overlook
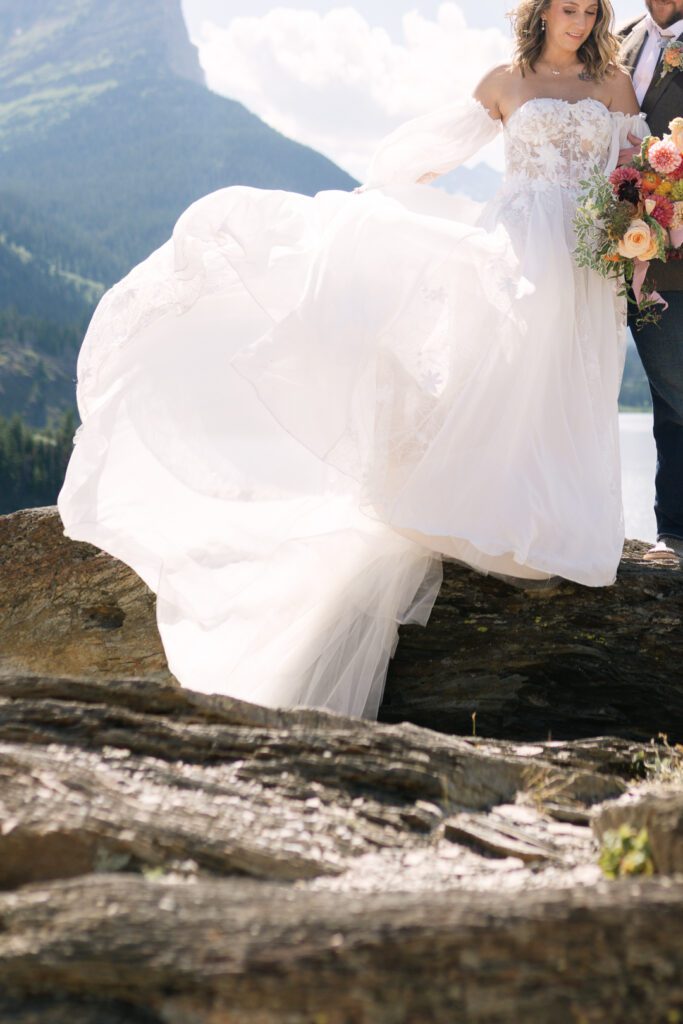
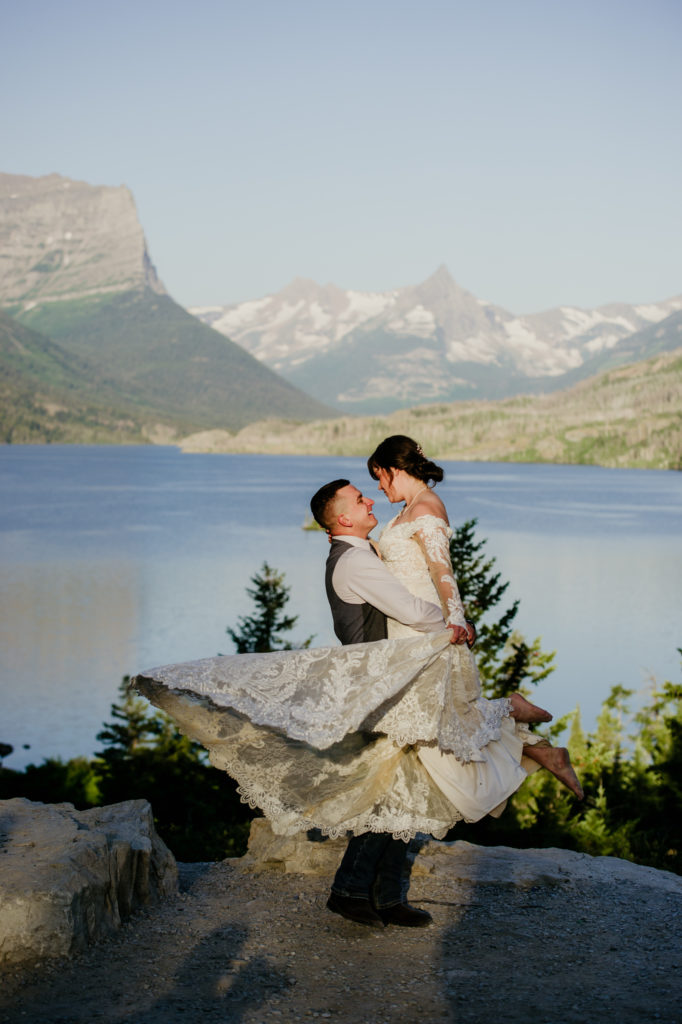
The Wild Goose Island Overlook is one of those unmistakably Glacier views. The tiny island sits in St. Mary Lake with enormous mountains rising behind it, giving you incredible layers and scale.
For couples photography, I think of this more as a quick scenic addition than the primary location for a session. Pull in legally, grab that epic wide landscape, and continue your adventure. Don’t build an entire timeline around one roadside viewpoint when you have so much variety nearby.
Going-to-the-Sun Road Pullouts
Some of my favorite Glacier photographs aren’t created at a named destination at all. They’re created at the Going-to-the-Sun Road pullouts you discover between locations.
These can give you mountain layers, waterfalls, valleys, road views, and completely different angles than the major landmarks. They are perfect for breaking up a session and making the gallery feel like you actually traveled through Glacier instead of completing a checklist of Instagram locations.

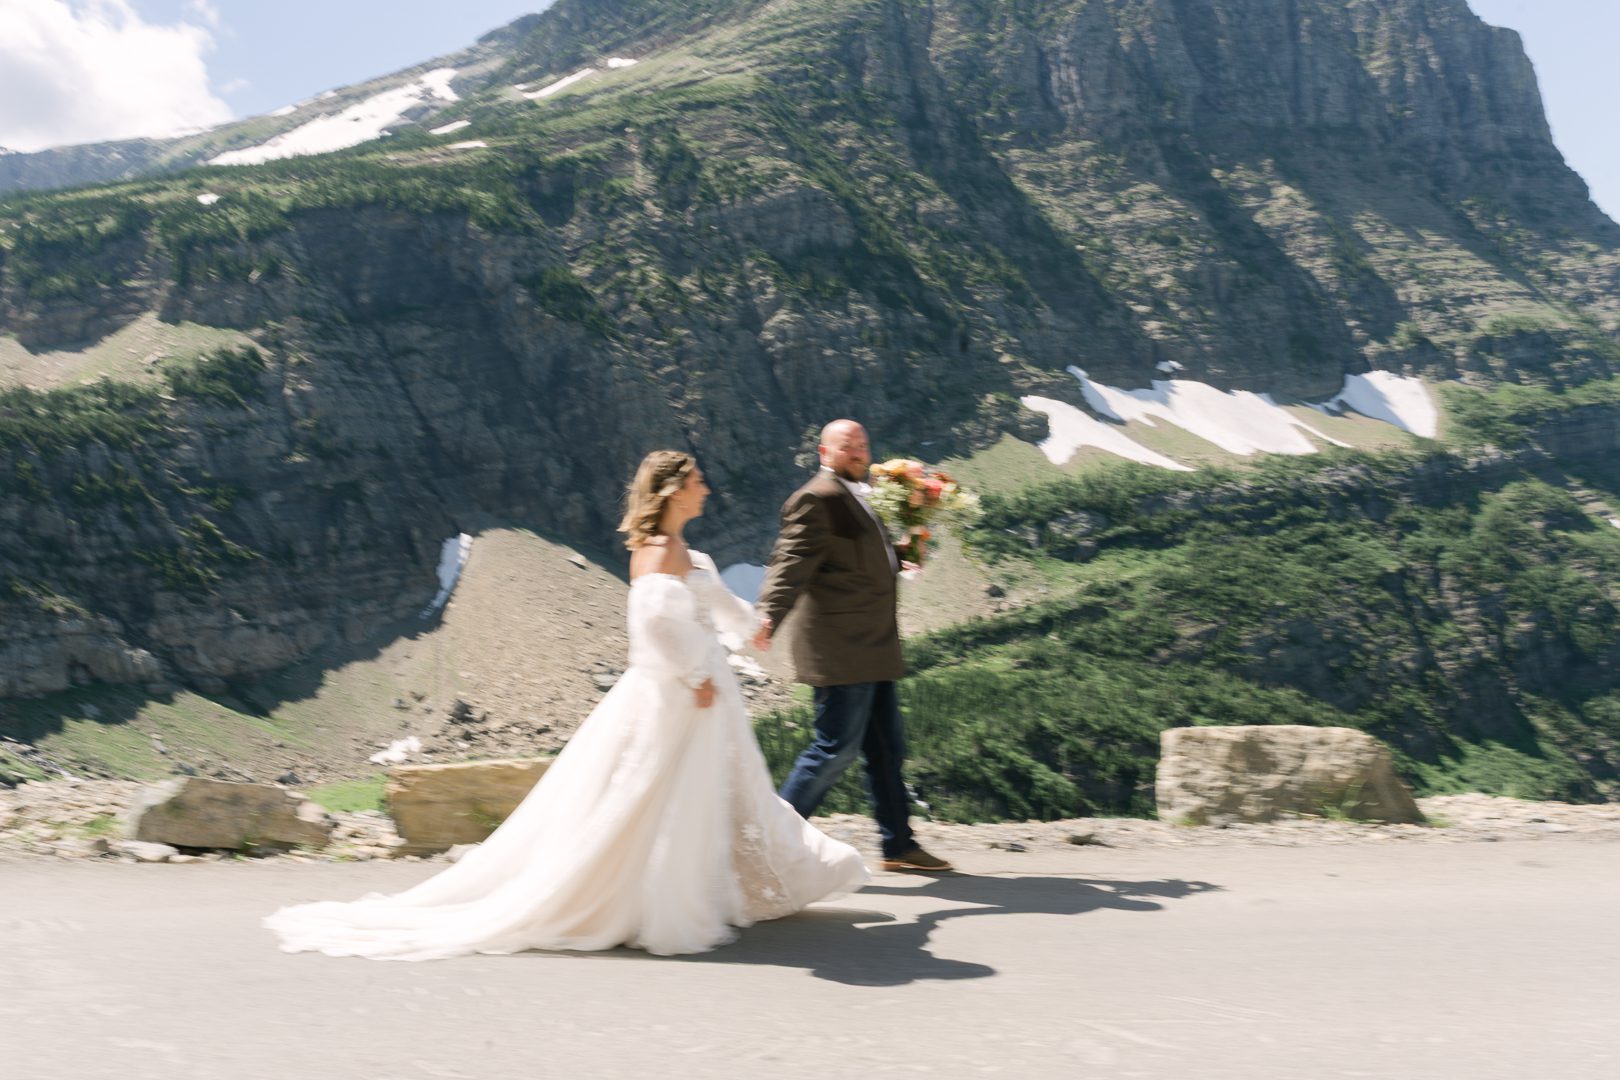
Instead of trying to photograph everything from one spot, build a session that moves through several different environments. Your final gallery feels much more like a story of exploring Glacier together.
Logan Pass Parking and Going-to-the-Sun Road Access
This is the unsexy part of planning a Logan Pass photography session, but it can make or break your timeline.
Do not build your photography timeline assuming you can simply drive to Logan Pass, park immediately, and start shooting. Parking and transportation rules can change from year to year, and Logan Pass is one of the busiest places in Glacier National Park. For 2026, private vehicle parking at Logan Pass is limited to three hours from July 1 through September 7. Glacier is also using a ticketed shuttle system for visitors who need longer access to Logan Pass.
Build extra time into your photography timeline for driving Going-to-the-Sun Road, parking, walking to your location, bathroom stops, and inevitable summer traffic. If your photography coverage involves multiple locations throughout Glacier, route planning becomes just as important as photography planning.
Do You Need a Photography Permit at Logan Pass?
Photography rules in national parks have changed, so always check the current National Park Service requirements before your session.
Under Glacier’s current rules, most filming and still photography involving eight or fewer people does not require a photography permit or photography fee when it takes place in areas open to the public, uses hand-carried equipment, does not require exclusive use, and does not negatively impact park resources or other visitors.
However, weddings, vow renewals, commercial business operations, larger productions, and other activities can involve separate permits or authorizations. Don’t assume that “photography doesn’t require a permit” means every activity surrounding the photography is automatically permit-free. Here’s the link to the Special Use Permit Application. You’ll also need to pay $125 and email it to glac_sup @nps.gov
Always verify the current rules for your specific session before heading into the park.
My Biggest Tip for Logan Pass Engagement and Wedding Photos
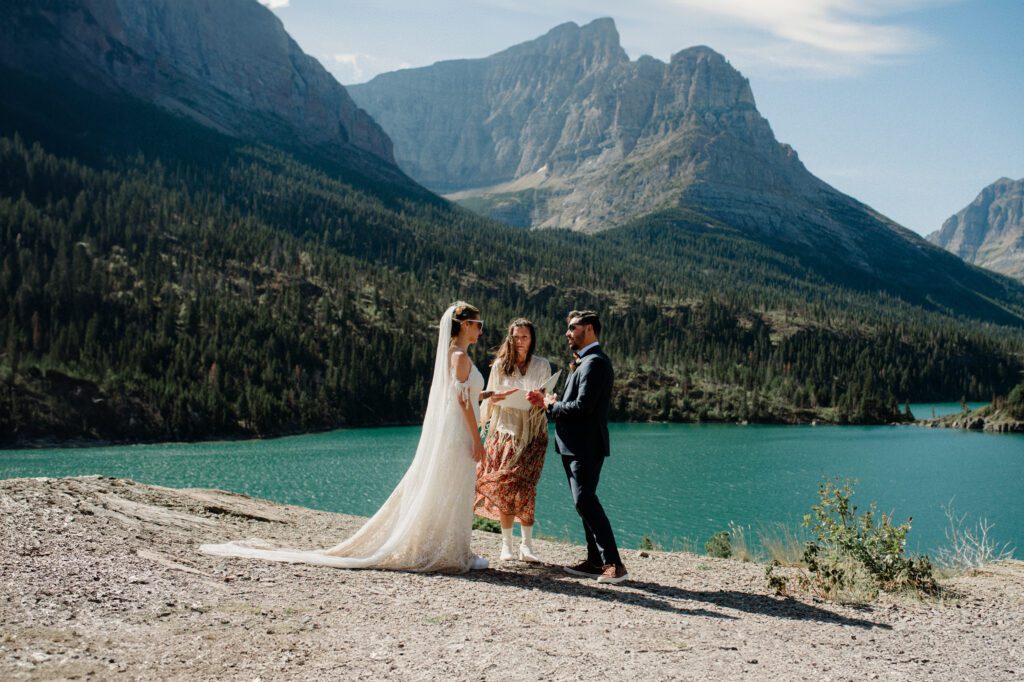
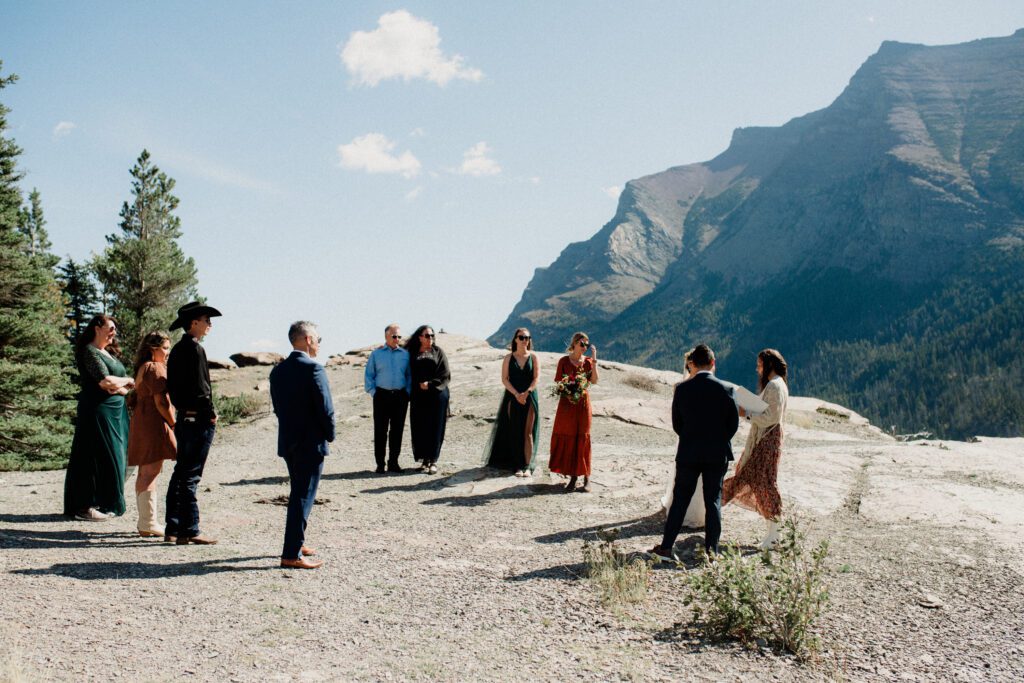
Don’t treat Logan Pass like a checklist. You don’t need to race to five overlooks, hit every recognizable backdrop, and photograph every possible mountain. Give yourselves time to actually experience it. Walk. Explore. Let the wind do ridiculous things to your hair. Stop when the light suddenly becomes incredible. Look at the mountains instead of constantly looking at the camera.
My approach to photographing couples in Glacier is always story first. I want the giant landscape photographs with tiny humans surrounded by mountains, but I also want the movement, laughter, close-up moments, and little pieces of the experience that make the gallery feel alive. The landscape is spectacular. But you are still the story.
2026/2027
TRAVEL SCHEDULE
SHORTER 1-4 HOUR SESSIONS AVAILABLE FROM $850
ELOPEMENTS AVAILABLE FROM $5400
AT THE FOLLOWING LOCATIONS AND DATES:
New Zealand: DEC 20-29
Kenya: MAY 16-22
Glacier National Park: SEPT 9-13
Brighton, England: OCT 21-22
Edinburgh, Scotland: OCT 23
Ireland: OCT 26-28
Iceland: OCT 29-30
FOLLOW @HONEYBEEWEDDINGSMT FOR UPDATES!
1:1 time is my love language, so let's find out if we're a good fit!
*BUCKET LIST LOCATIONS = BIG DISCOUNTS*
KENYA, ZIMBABWE, SOUTH AFRICA, PATAGONIA, ALASKA, MALDIVES, NORWAY
Leave a Reply
popular posts/



Post Comments